The pot lid rattles and you know dinner is almost ready. That sound gets your attention every time. You catch that little hiss of the valve, and it means the pressure is doing its work inside the cooker.
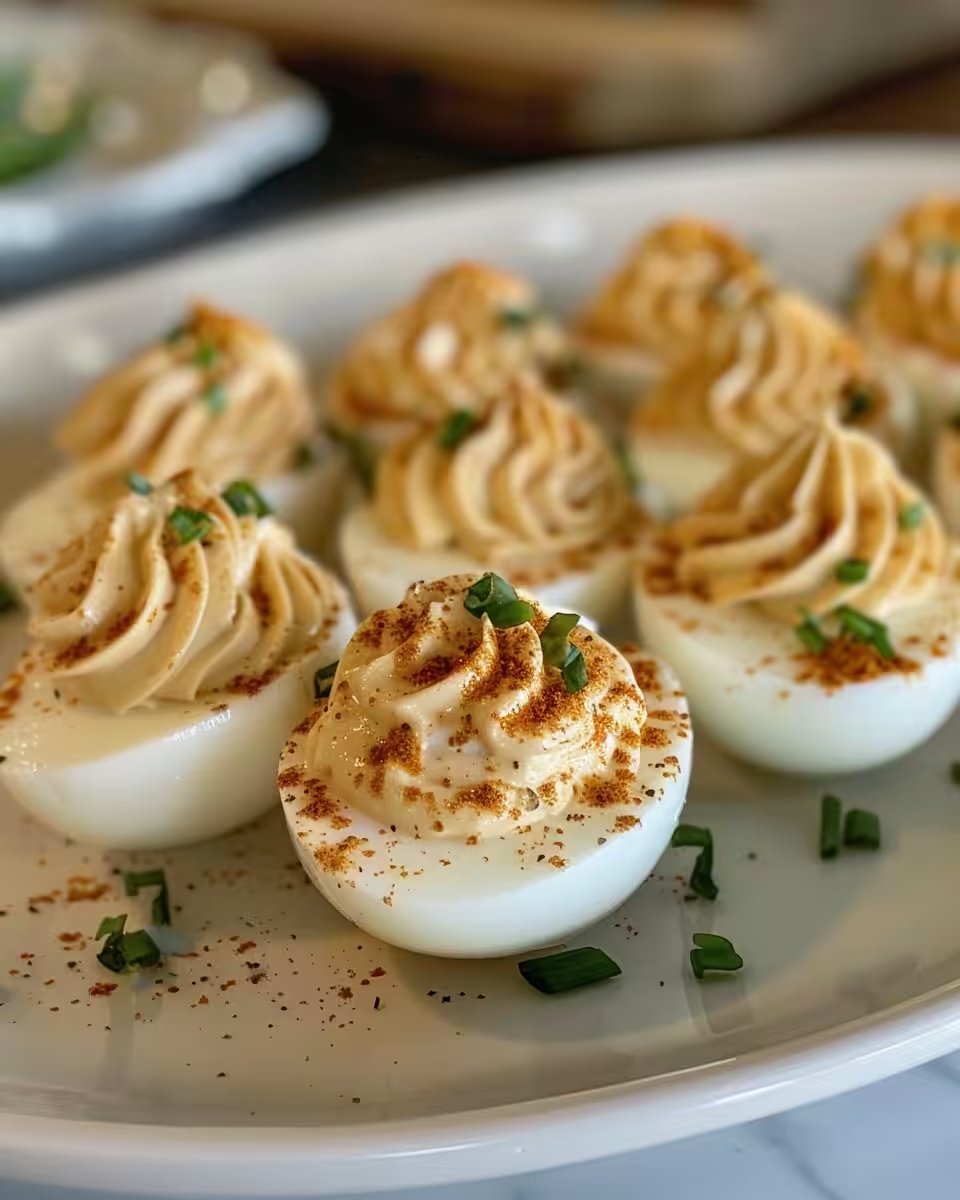
You remember the old way of boiling eggs on the stove. It’s not exactly hassle-free. But today, you’re doing things different. The pressure cooker changes the game—it’s faster and honestly, it keeps things so simple.
While the eggs cook up, you get the rest of your stuff ready. You sense the kitchen filling with that familiar warm egg smell, kinda like comfort food in the making. Soon enough, you’ll be cracking and mixing yolks for that creamy deviled egg experience.
The Truth About Fast Tender Results
- Pressure build is quick so eggs start cooking sooner than traditional boil.
- Quick release stops cooking instantly, so eggs never get rubbery.
- Natural release lets pressure drop gently, avoiding cracked shells.
- Eggs come out tender but firm, perfect for slicing and filling.
- Pressure cooker keeps heat and moisture controlled, so no overcook.
- You can cook a dozen eggs all at once—no batch cooking needed.
What Goes Into the Pot Today
- 12 large eggs - gotta have the star ingredient for classic deviled eggs.
- ⅓ cup mayonnaise - brings creaminess, but you can mix it half and half with plain Greek yogurt if you want.
- 2 tablespoons pickle relish - or diced dill pickle if you’re feeling fancy and wanna add some crunch.
- 1 ½ teaspoons Dijon mustard - but yellow mustard is a fine swap if you prefer less bite.
- Salt and freshly ground black pepper - seasoned just right, to taste.
- Paprika for garnish - the little pop of color and mild smoky flavor on top.
You notice these ingredients all come together to build that perfect balance. The tang, cream, and slight crunch combine real good in every bite. And the paprika? It’s gotta be the finishing touch that makes 'em just right.
The Full Pressure Cooker Journey
Start by placing your eggs in the pressure cooker’s steamer basket or directly on the rack. You want to add about a cup of water so it won’t burn but creates enough steam to cook those eggs right.
Seal the lid up and set your cooker on high pressure. The pressure build happens quick—you’ll hear that valve hiss starting to chatter soon.
Once the cooker hits pressure, start your timer for 5 minutes. This is the sweet spot for hard boiled eggs that peel easily but keep a tender center.
When timer beeps, do the quick release by carefully flipping the valve. You’ll hear a loud hiss as pressure escapes fast. Don’t rush, but be ready to open once it’s safe.
Immediately transfer the eggs to an ice bath or under cold running water. This shocks 'em and helps stop any carryover cooking. You’ll thank yourself when peeling time comes.
Once cooled, gently crack and peel shells off the eggs. Slice 'em in half lengthwise, being careful not to break the whites.
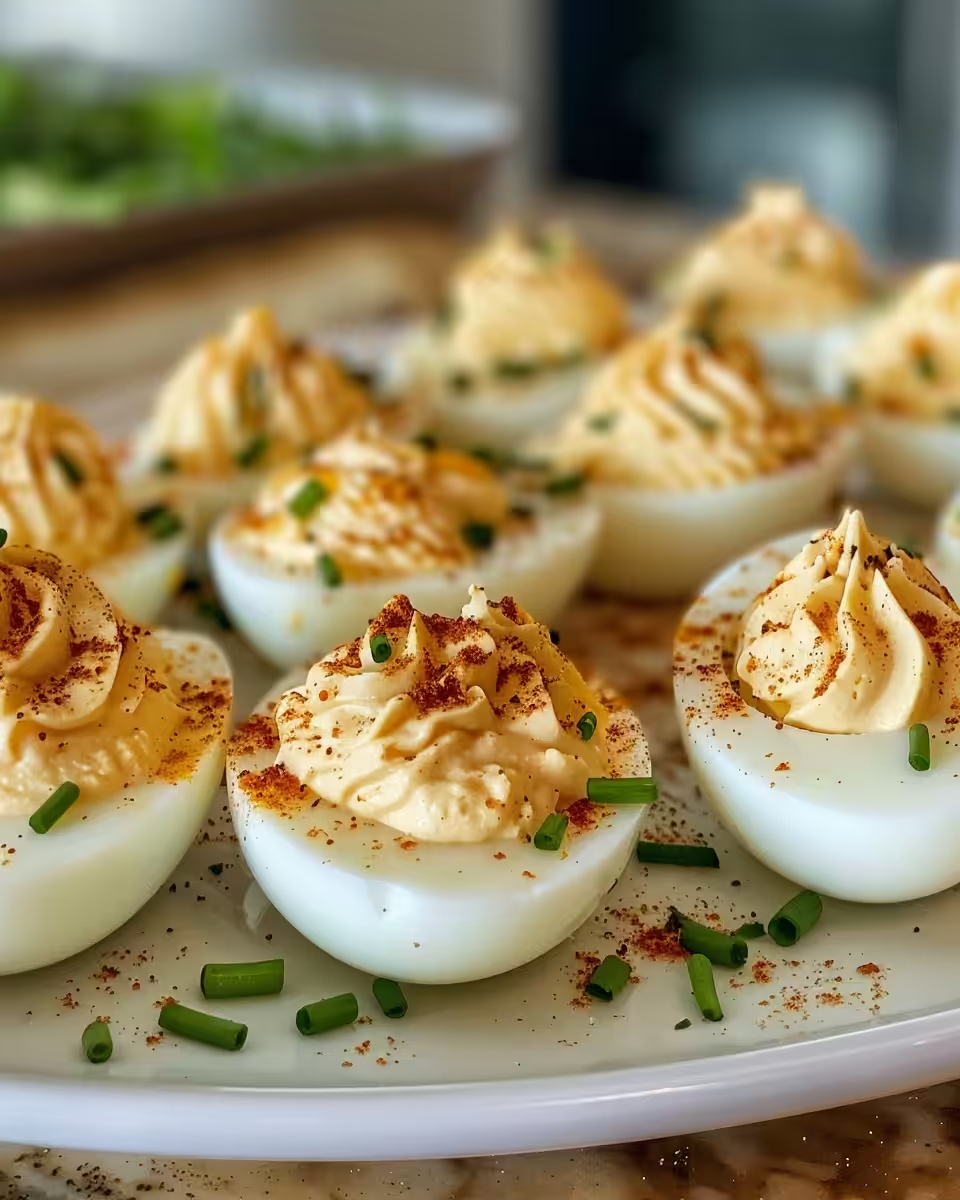
Scoop the yolks into a bowl and mash 'em up. Add mayo, pickle relish, mustard, salt, and pepper. Mix all that creamy goodness till smooth. Then spoon or pipe it back into the white halves and sprinkle paprika on top.
Valve Hacks You Need to Know
- Use the quick release right after cooking to stop eggs from overcooking // it works real good.
- If you’re not in a hurry, try natural release for 5 minutes to keep shells intact.
- Don’t force open the lid before valve fully releases or you’ll get a dang hot steam surprise.
- Keep a towel handy while releasing pressure to avoid any messy drips or burns.
These hacks save you frustration and keep you cooking smooth every time. You’ll notice your eggs come out perfect over and over.
That First Bite Moment
You pick up a deviled egg half and maybe catch a little bit of coolness from the fridge. The creamy yolk filling feels soft and dreamy against your fingers.
As you bite in, your teeth sink into the tender egg white with just a bit of resistance. Then the filling hits your taste buds—a tangy little kick from the mustard, a sweet hint from the relish, and that mellow rich creaminess from the mayo.
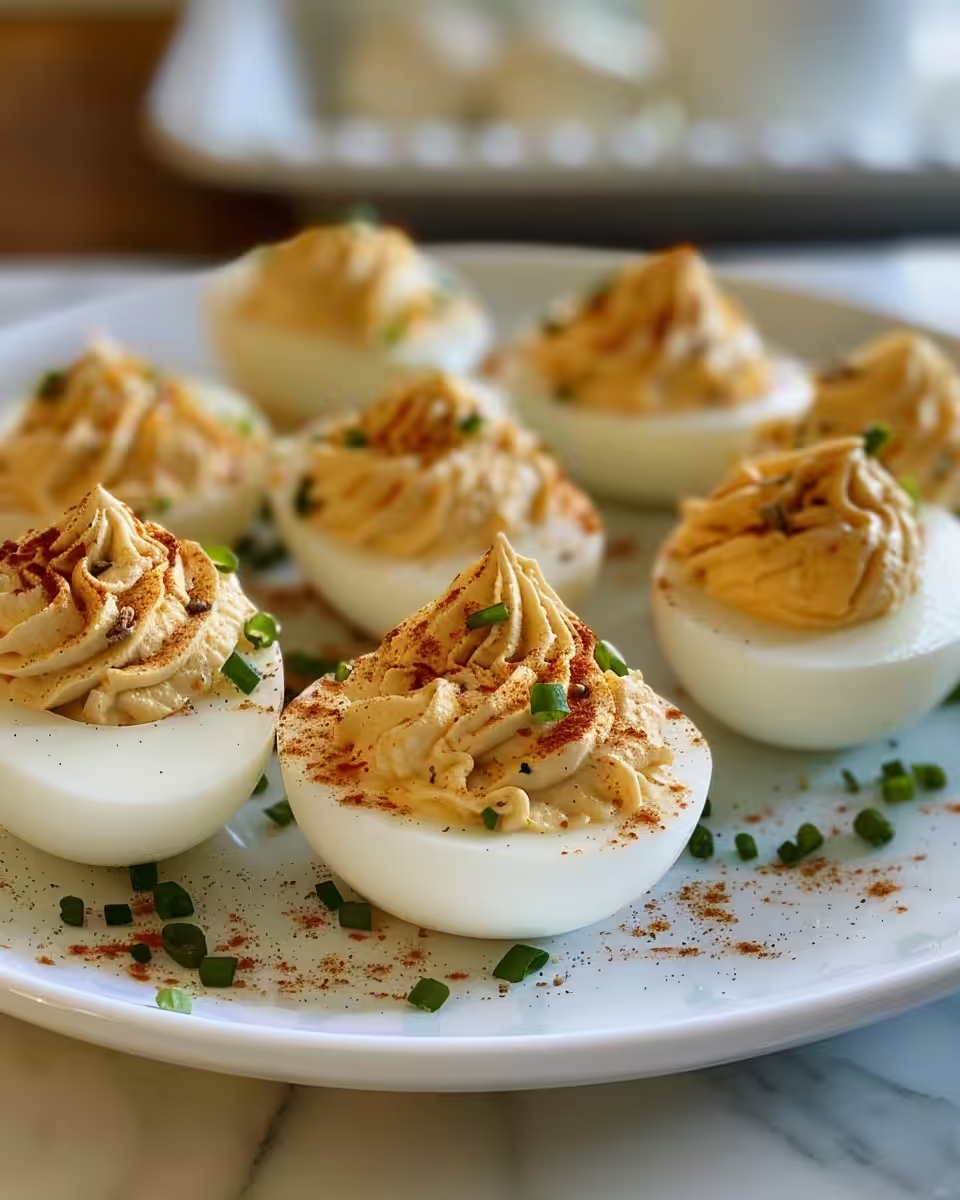
The paprika on top adds a smoky whisper and a bit of color that makes everything look as good as it tastes. That first bite might make you smile because it’s just right.
Your Leftover Strategy Guide
- Place leftover deviled eggs in an airtight container and store in the fridge. They stay good for up to 3 days.
- If you want to prep yolk mix ahead, keep it separate from egg whites. Fill 'em fresh for best texture.
- To keep eggs fresh and avoid dry out, cover the container with a damp paper towel before sealing.
- Freeze is not really recommended here since texture changes badly, but you can freeze the yolk mix alone if you wanna experiment.
Whenever you pull 'em out for a snack or party, just let leftovers come to room temp a bit. That creaminess shines most after a little breather outside the fridge.
What People Always Ask Me
- Q: Can I use less water when pressure cooking eggs?
A: Nope. Water’s gotta be there to create steam and pressure. Around 1 cup works well for your cooker. - Q: How can I get eggs to peel easier?
A: Quick shock in ice water right after pressure cooking is key. It cools the egg and shrinks the inner membrane. - Q: Can I use Greek yogurt instead of mayo in filling?
A: Absolutely. Half mayo and half plain yogurt lightens things while keeping creaminess. - Q: What’s the best way to store deviled eggs?
A: Airtight container in the fridge. If you fill 'em fresh daily, they taste best. - Q: Should I do quick release or natural release?
A: Quick release is best so eggs stop cooking right away and don’t get rubbery. - Q: Can I add other flavors to the yolk mix?
A: Totally. Try paprika in the mix, hot sauce, or chopped herbs like chives for variety.
For more easy pressure cooker recipes, check out our Zesty Avocado Egg Salad Recipe, Delicious Baked Broccoli Cheese Balls, and Make BLT Deviled Eggs for more tasty ideas.
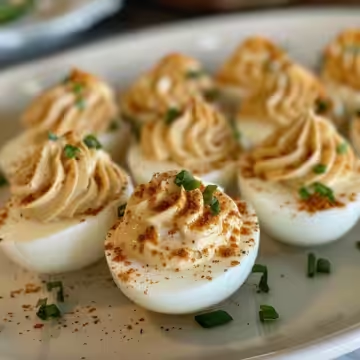
Deviled Eggs: A Pressure Cooker Spin on a Classic
Equipment
- 1 Pressure cooker
- 1 Steamer basket or rack
Ingredients
Main ingredients
- 12 large eggs
- ⅓ cup mayonnaise or use half mayo and half plain Greek yogurt
- 2 tablespoons pickle relish or diced dill pickle
- 1 ½ teaspoons Dijon mustard or yellow mustard
- Salt and freshly ground black pepper to taste
- Paprika for garnish
Instructions
Instructions
- Start by placing your eggs in the pressure cooker’s steamer basket or directly on the rack. Add about a cup of water.
- Seal the lid and set your cooker on high pressure. Start your timer for 5 minutes once cooker hits pressure.
- When timer beeps, do the quick release and transfer the eggs to an ice bath or under cold running water.
- Once cooled, crack and peel shells off the eggs. Slice them in half lengthwise and remove yolks.
- Scoop the yolks into a bowl and mash with mayo, pickle relish, mustard, salt, and pepper until smooth.
- Spoon or pipe the mixture back into the white halves and sprinkle paprika on top.