Steam curls up from the valve and your stomach starts talking back. That smell hits you the moment you press start on your pressure cooker and it’s kinda like the warmest hug on the coldest day. You catch yourself smiling real wide cause you just know something dang good is coming your way.
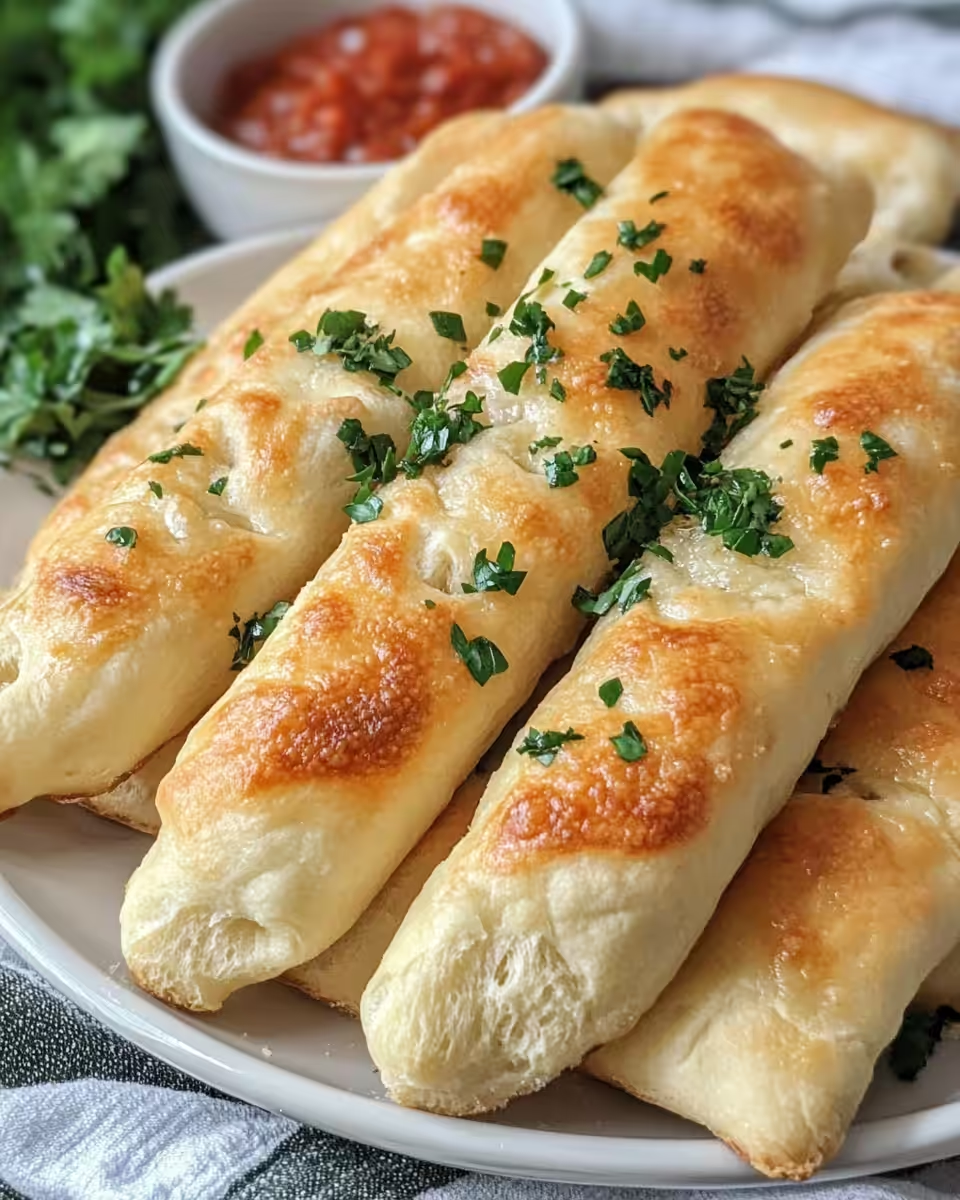
It’s funny how breadsticks can turn simple moments into special ones. You recall those Olive Garden nights where the basket seemed endless and every bite was just soft enough with that buttery garlic zip. Well, you can get that feeling right at home, without hours tied to the oven or fussing over dough for forever.
So you watch that sealing ring do its thing, holding all the moisture close, the pressure build getting just right. And then, quick release hits, the steam rushes out, and the kitchen fills with that warm garlic scent. It’s almost like the breadsticks are calling your name, daring you to grab one hot and buttery before they vanish.
The Truth About Fast Tender Results
- Pressure cooker heats up fast and traps steam so dough stays tender and moist without drying out.
- You avoid waiting around for long rising or baking times cause the cooker speeds up the whole process.
- Steam cues from the valve tell you exactly when to step in and do a quick release for perfect texture.
- The sealing ring keeps all that broth depth of flavor locked in so every bite tastes rich and buttery.
- It saves energy and your sanity since you don’t gotta babysit the dough or oven while it bakes.
All the Pieces for This Meal
- 1 cup plus 2 tablespoons warm water about 100 to 110 degrees Fahrenheit easy to measure with a thermometer.
- 1 ½ teaspoons instant yeast that wakes up fast and gets the dough bubbled and ready.
- 2 tablespoons granulated sugar to feed the yeast and give a kiss of sweetness.
- 3 tablespoons unsalted butter melted and mixed right into the dough for soft flavor.
- 1 ¾ teaspoons fine sea salt to balance all that buttery goodness.
- 3 cups bread flour plus a bit more if dough feels sticky so it’s easy to handle.
- 2 tablespoons unsalted butter melted again for brushing the breadsticks after baking.
- Half teaspoon kosher salt and quarter teaspoon garlic powder mixed for sprinkles on top, that final flavor punch you’ll love.
Your Complete Cooking Timeline
First, you mix warm water, yeast, and sugar in your stand mixer bowl. You gotta let it sit 5 minutes till it’s foamy and alive with bubbles. If you want more tips on working with yeast, check out our guide to yeast activation that explains all the basics.
Next up, add melted butter, sea salt, and bread flour. Start mixing slow then crank the speed to medium and knead the dough till it’s smooth and elastic. This takes about 7 to 8 minutes of the machine’s work. For perfect kneading techniques, don’t miss this kneading tutorial.
Once kneaded, place the dough in a greased bowl, cover with plastic wrap, and tuck it somewhere warm so it can rise. It’s gonna double in size in about one to one and a half hours.
When it’s puffed up good, punch down the dough and split into 12 equal pieces. Roll each piece into a 7-inch log and lay ‘em out on parchment-lined baking sheet.
Cover lightly with a kitchen towel and wait 30 minutes while they get puffy and just right again.
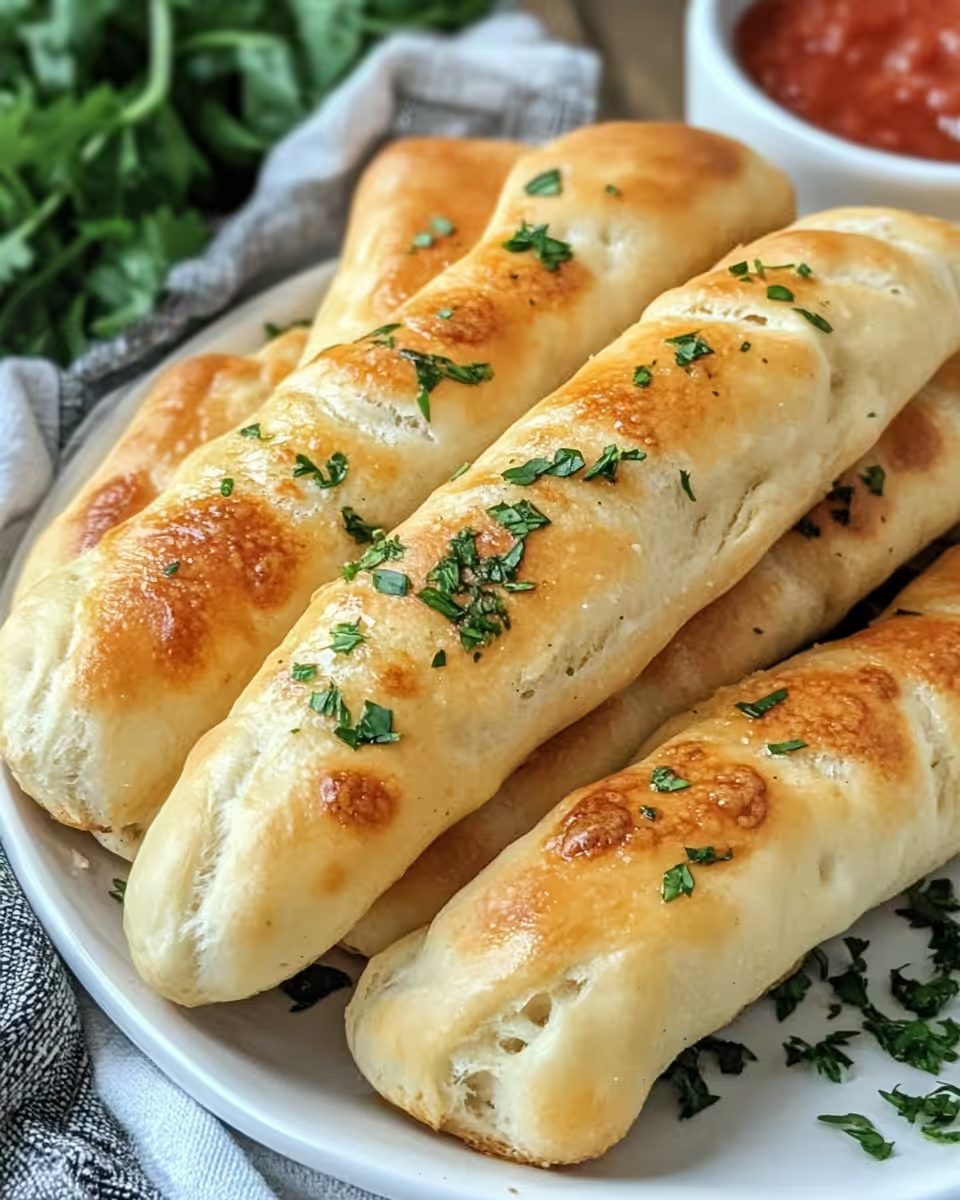
Time to heat your oven to 400 degrees Fahrenheit. Bake the breadsticks 12 to 14 minutes till they’re golden and smell irresistible.
Last step, brush the hot breadsticks with the melted butter and sprinkle with the garlic salt mix. Serve warm and watch ‘em disappear fast.
Quick Tricks That Save Your Time
- Use a kitchen towel that’s damp over the dough to keep it from drying out during rising stages.
- Knead the dough right in your mixer and no sticky mess on your hands or counters.
- Keep your water warm but never hot or it might kill the yeast and slow everything down.
- Right after baking, the melted butter brush is the best time to add garlic salt so it sticks perfect.
That First Bite Moment
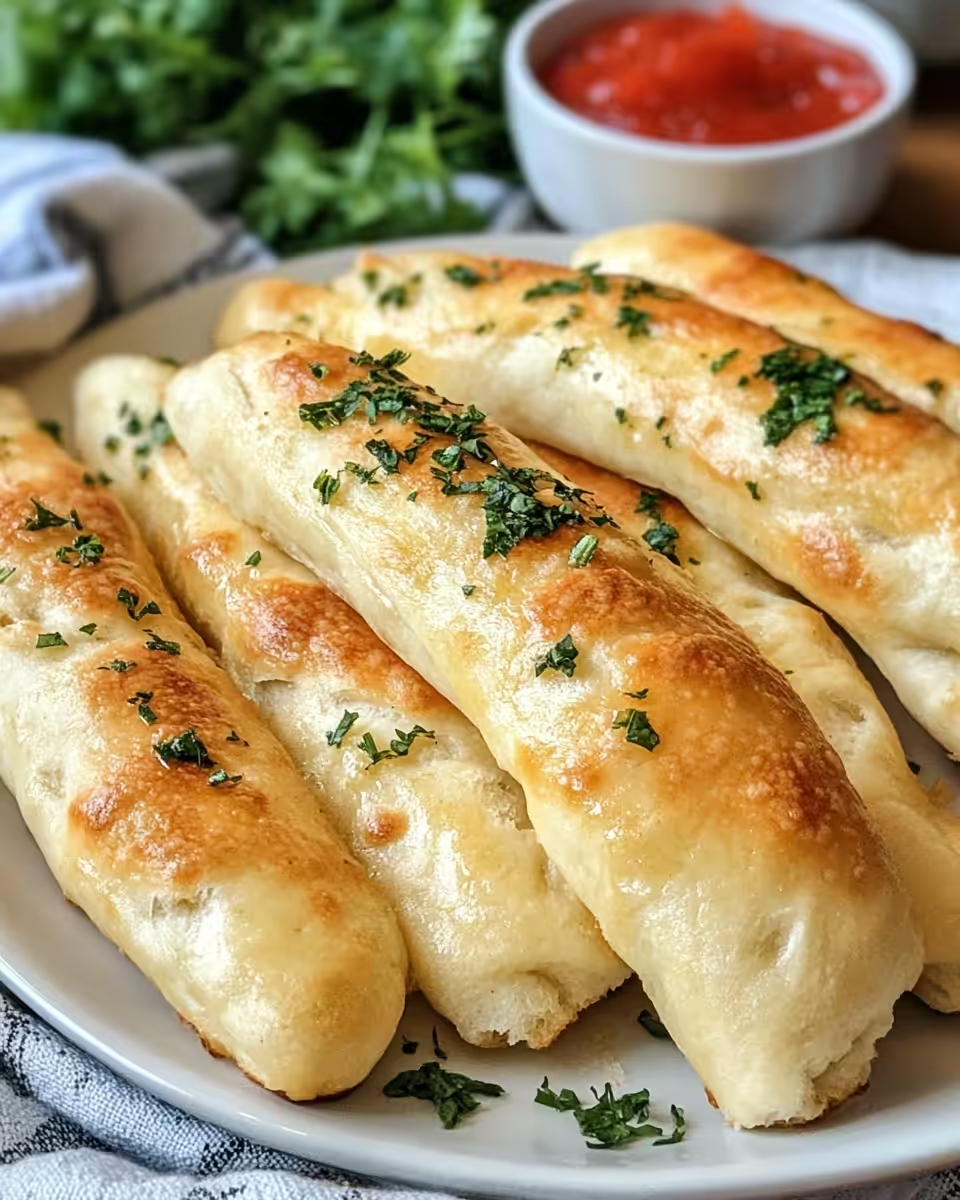
When you grab your first breadstick, the warmth hits your fingers instantly. It’s gotta be the softest texture, kinda pillowy but with a little chew that’s just right.
You notice that buttery sheen glistening with a hint of garlic waiting for your taste buds to dive in. It’s salty and sweet all mixed up, comforting and nostalgic.
The crust is thin and golden brown, not crispy but with a slight give that cracks softly when you bite. It’s that perfect balance you didn’t even know you were craving till now.
You feel that breadstick vanish in your mouth and suddenly you’re already reaching for the next one. It’s a dang good feeling, trust me.
Making It Last All Week Long
If you wanna keep these beauties fresh longer, the best way is to store them in an airtight container. They’ll hold their softness for a couple days no problem.
For more time, pop the breadsticks in a zip-top bag and toss them in the fridge. They might firm up a bit but a quick 10 second zap in your microwave fixes that right up.
Freezing is your go-to for even longer storage. Wrap each breadstick in foil or plastic wrap then place in a freezer bag. When you wanna eat ‘em, just thaw and warm in the oven or microwave.
What People Always Ask Me
- Can I use regular yeast instead of instant? Yeah, you can but gotta activate it first in warm water with sugar. It takes a bit longer to rise though. See our detailed post on yeast types explained for more alternatives.
- Why does my dough stick to my hands? Add a touch more flour when you’re kneading if it’s too wet. Bread dough is sticky but shouldn’t be glue-y.
- How do I know when the dough has risen enough? It should double in size and feel airy. You can do the finger poke test — if it springs back slow, it’s good.
- Can I skip the garlic powder on top? You sure can but it’s part of what makes these taste like Olive Garden. Feel free to try other seasonings!
- Is quick release really necessary for this recipe? Yes, it stops the cooking right away so breadsticks don’t get overdone and stay soft.
- What if I don’t have a stand mixer? No worries, just knead by hand for about 10 to 12 minutes till dough feels smooth and elastic.
Copycat Olive Garden Breadsticks
Equipment
- 1 Mixing bowl Stand mixer preferred
Ingredients
Ingredients
- 1 cup plus 2 tablespoons warm water about 100 to 110 degrees Fahrenheit
- 1 ½ teaspoons instant yeast
- 2 tablespoons granulated sugar
- 3 tablespoons unsalted butter melted
- 1 ¾ teaspoons fine sea salt
- 3 cups bread flour plus more as needed if dough feels sticky
- 2 tablespoons unsalted butter melted, for brushing
- ½ teaspoon kosher salt
- ¼ teaspoon garlic powder
Instructions
Instructions
- Mix warm water, yeast, and sugar in a stand mixer bowl and let sit 5 minutes until foamy.
- Add melted butter, sea salt, and bread flour. Mix slowly, then knead on medium speed for 7-8 minutes until smooth and elastic.
- Transfer dough to a greased bowl, cover, and let rise in a warm spot until doubled in size, about 60 to 90 minutes.
- Punch down the dough, divide into 12 equal pieces, and roll each into a 7-inch log.
- Place logs on parchment-lined baking sheet, cover with towel, and let rise for another 30 minutes.
- Preheat oven to 400°F. Bake breadsticks for 12 to 14 minutes until golden brown.
- Remove from oven and brush hot breadsticks with melted butter.
- Mix kosher salt and garlic powder, then sprinkle over breadsticks while still warm.
- Serve warm, and store leftovers in an airtight container or freeze for later.