That first hiss from the cooker tells you something good is happening. You remember that little pop of excitement when the float valve finally lifts and you know it’s sealing tight. From there, the pressure build inside is like a little countdown to dinner that you actually enjoy watching.
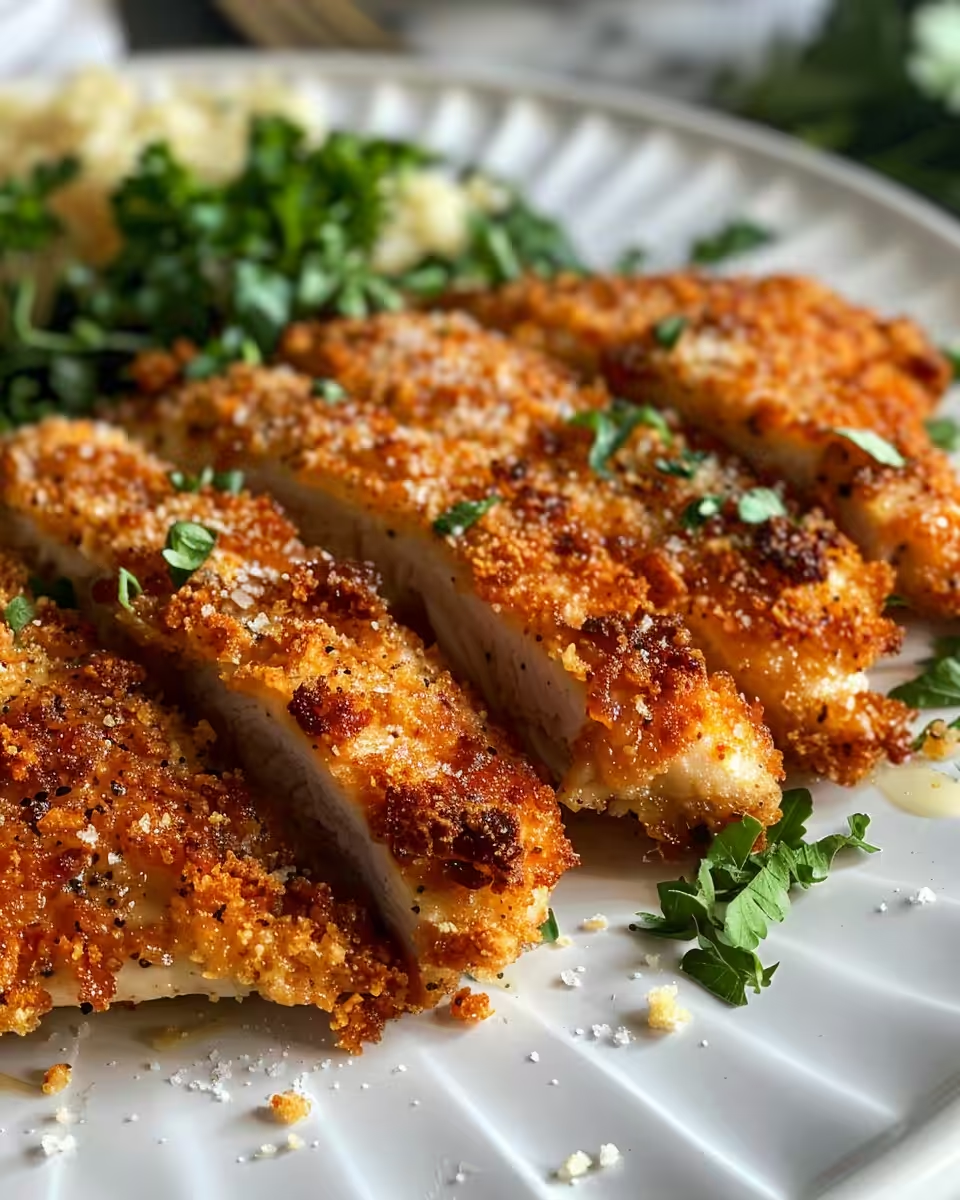
You catch the smell right away as the chicken starts cooking. It’s kinda like the whole kitchen gets filled with this cozy promise you’re about to eat something dang tasty. That crust you want to form is gonna stay crisp just right, thanks to the way pressure cooking locks in flavors.
Near the end, you notice that natural release starting to ease out the pressure. It’s slow and careful like taking that last breath before you dig in. And when you finally flip open that lid, all the crust and cheesy goodness waits for you like it’s been ready all along.
What Makes Pressure Cooking Win Every Round
- Speedy cooking time means you get meals fast and your tummy won’t have to wait long.
- Sealing ring and float valve work together to trap heat and moisture perfectly inside.
- Natural release helps keep the textures just right without drying out your food.
- Quick release lets you stop cooking right when you want, so stuff doesn’t overdo it.
- Tenderizes chicken so it’s juicy but still holding onto that crispy crust.
- Preserves all the great flavors and cheese melting so they don’t escape as steam.
- Easy cleanup since you’re mostly using one pot and baking dish afterward.
Everything You Need Lined Up
- 3 chicken breasts or 6 chicken cutlets (medallions) - you choose what fits your mood.
- Kosher salt for seasoning both sides, gotta get that right.
- Pepper, freshly cracked if you can, for a little kick.
- ⅓ cup all-purpose flour to help the crust stick real good.
- 2 eggs plus 2 tablespoons water, whisked together for that perfect dip.
- ½ cup panko breadcrumbs for that extra crunchy texture.
- 1 cup finely grated Romano cheese to pack that signature tangy punch.
- 3 tablespoons finely grated Parmesan, because you can’t have enough cheese.
- Neutral oil like canola to get the browning just right without extra flavor.
You got all these lined up and ready, you’re set to rock this recipe with confidence. Taking your time prepping stuff pays off big when you get to cooking.
How It All Comes Together Step by Step
First, get your oven heated to 400°F (200°C). That’s gonna help the chicken finish cooking after the sear.
Season your chicken on both sides with kosher salt and pepper. Don’t skimp here, it’s the base for all that flavor you’ll notice later.
Set up your breading station just like a pro. One shallow dish with flour, a second dish holding the eggs whisked with water, and a third with the mix of panko, Romano, and Parmesan cheeses. This way, you keep everything neat and ready to go.
Dredge each piece first in the flour. Shake off the extra so it’s not too thick. Then dip into the egg wash making sure it’s all coated and finally press it into the breadcrumb-cheese mix really well on both sides. This is the crust you want to stick tight.
Heat the canola oil in a skillet over medium heat. When it’s shimmering, gently lay down your chicken and cook about 3 to 4 minutes on each side. You want that golden brown crust forming here.
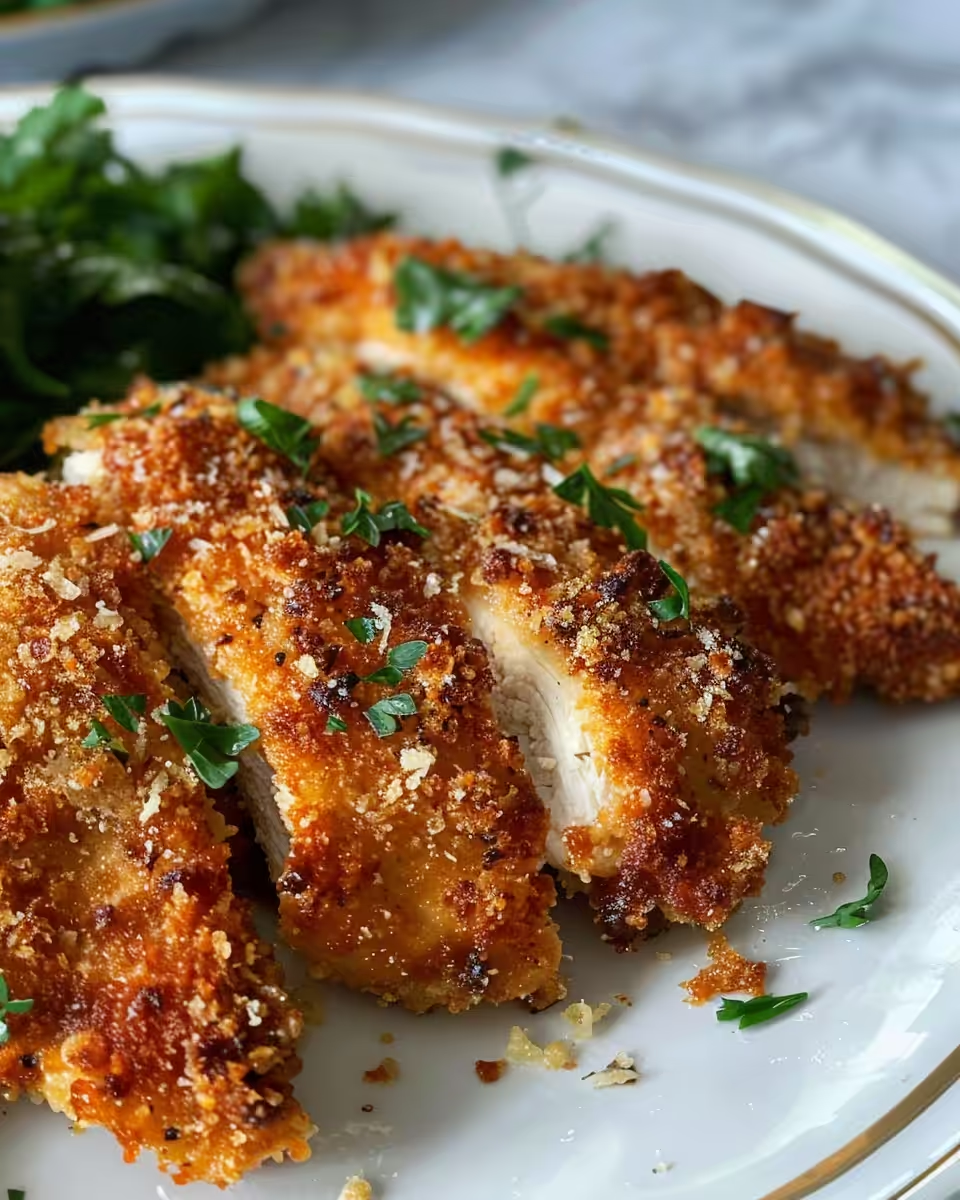
Last step, transfer your browned chicken to a baking dish and slide it into the oven. Bake for 20 minutes or until you hit that safe temp of 165°F (75°C) inside. It’s juicy, cheesy, and crusted, ready to serve hot and maybe topped with a little extra cheese if you’re feeling fancy.
Quick Tricks That Save Your Time
- Use pre-grated cheeses if you’re rushed but watch out for any fillers making crumbs clump.
- Get the flour, egg mix, and panko mix set up before you start seasoning the chicken to speed things up.
- Use a splatter guard during searing in the skillet to keep the stove cleaner without slowing down.
- Skip the oven step if your chicken cutlets are thin and cook fully in the skillet, but watch them close.
These little tips help keep you moving and not stuck waiting or cleaning forever later. They’re ways I use when life’s too busy and you want dinner ready pretty fast.
That First Bite Moment
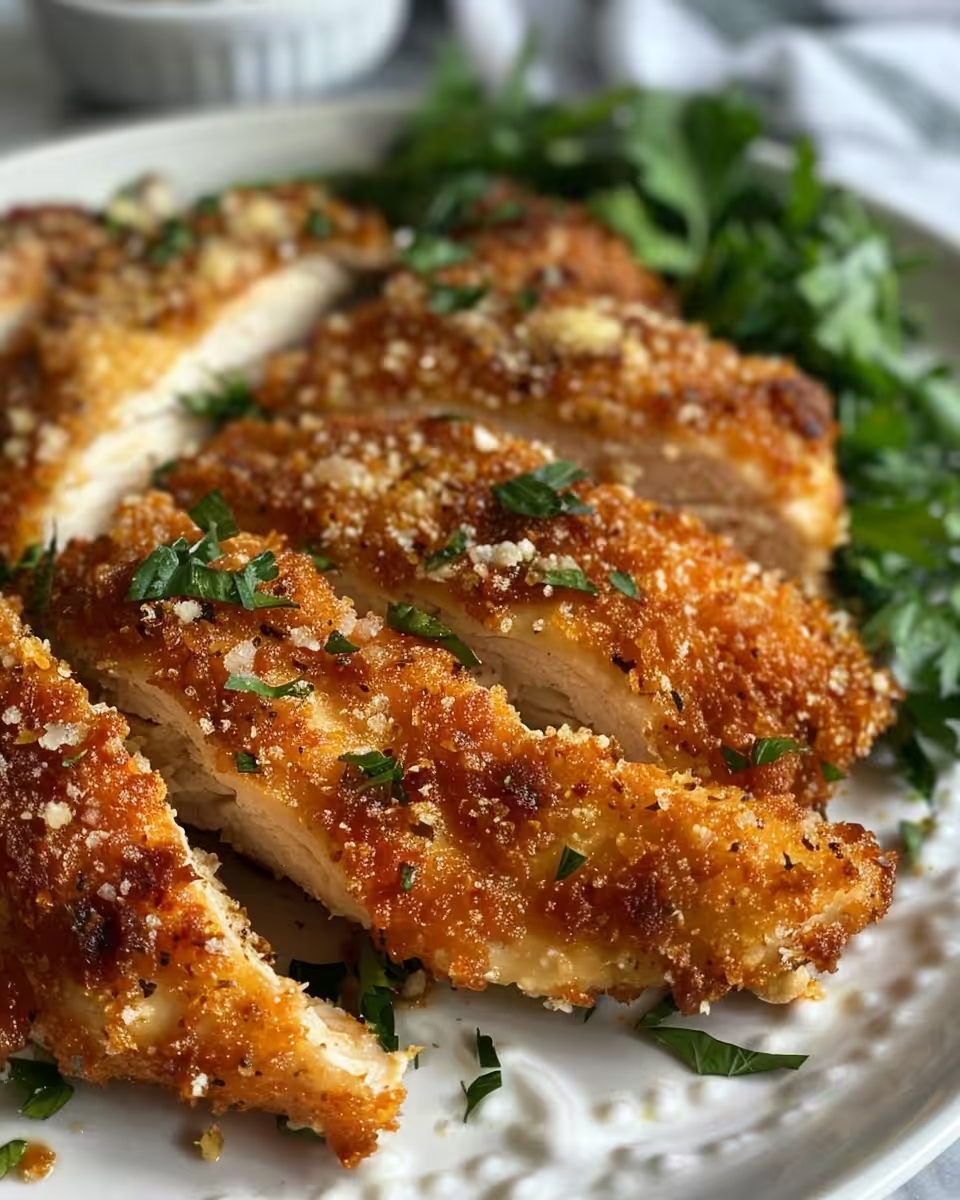
You take your first bite and that crust crunches just how you wanted it. The salty tang of Romano cheese hits first, then the savory Parmesan sneaks in nice and smooth. It’s dang satisfying.
Underneath all that crisp is juicy chicken that almost melts in your mouth but still has enough bite to remind you it’s real chicken. You remember that balance you worked for, and it’s everything.
The flavors stick around after you swallow, making you wanna take another bite quick. It’s simple but feels just fancy enough for any weeknight or when someone special comes over.
Smart Storage That Actually Works
Cool down leftovers a bit before you stash them. Wrap the chicken tightly in foil or place into an airtight container to keep it tasting fresh.
Reheat in the oven at about 350°F for 10 minutes or until the crust’s crispy again. Avoid the microwave if you wanna keep that crunch going strong.
If you want to freeze, wrap the pieces individually in plastic wrap then foil. When ready, thaw overnight in the fridge and reheat carefully so you don’t dry it out.
Everything Else You Wondered About
- Can I use chicken thighs instead? You can but the crust might not stick as well because thighs have more moisture and texture differences.
- What about using gluten-free flour? Totally works if that’s what you gotta do, just get good gluten-free panko breadcrumbs too.
- Do I need to use all three cheeses? Nope, Romano and Parmesan together give the best combo but you can try with just one kind if you want.
- Why natural release after pressure cook? It lets the chicken finish gently so it stays juicy and the crust doesn’t sog up.
- Is quick release safe here? Quick release is awesome for stopping cook time right when you want but be careful if the cooker’s super full of oil splatter.
- Can I prepare chicken the day before? You sure can, just keep it covered tightly in the fridge and bread it right before cooking for best crust results.
For more quick and delicious pressure cooker recipes, check out our Creamy Steak Pasta – Ready in 30 Minutes and Zesty Avocado Egg Salad Recipe for easy, flavorful dishes you can trust.
Crusted Chicken Romano: A Pressure Cooker Delight
Equipment
- 1 Mixing bowl Large for the breading mix.
- 1 Skillet For searing chicken.
- 1 Baking dish For finishing in the oven.
Ingredients
Main ingredients
- 3 chicken breasts or 6 chicken cutlets (medallions) You choose what fits your mood.
- Kosher salt For seasoning both sides.
- Pepper Freshly cracked if you can.
- ⅓ cup all-purpose flour To help the crust stick.
- 2 eggs Plus 2 tablespoons water, whisked together.
- ½ cup panko breadcrumbs For extra crunchy texture.
- 1 cup finely grated Romano cheese To pack that signature tangy punch.
- 3 tablespoons finely grated Parmesan cheese Because you can’t have enough cheese.
- Neutral oil like canola For browning.
Instructions
Instructions
- First, get your oven heated to 400°F (200°C). That’s gonna help the chicken finish cooking after the sear.
- Season your chicken on both sides with kosher salt and pepper. Don’t skimp here, it’s the base for all that flavor you’ll notice later.
- Set up your breading station just like a pro. One shallow dish with flour, a second dish holding the eggs whisked with water, and a third with the mix of panko, Romano, and Parmesan cheeses. This way, you keep everything neat and ready to go.
- Dredge each piece first in the flour. Shake off the extra so it’s not too thick. Then dip into the egg wash making sure it’s all coated and finally press it into the breadcrumb-cheese mix really well on both sides. This is the crust you want to stick tight.
- Heat the canola oil in a skillet over medium heat. When it’s shimmering, gently lay down your chicken and cook about 3 to 4 minutes on each side. You want that golden brown crust forming here.
- Last step, transfer your browned chicken to a baking dish and slide it into the oven. Bake for 20 minutes or until you hit that safe temp of 165°F (75°C) inside. It’s juicy, cheesy, and crusted, ready to serve hot and maybe topped with a little extra cheese if you’re feeling fancy.