That first hiss from the cooker tells you something good is happening. You spot that sealing ring doing its job and the steam cues start rolling out just right. It’s like your kitchen suddenly gets that cozy anticipation vibe.
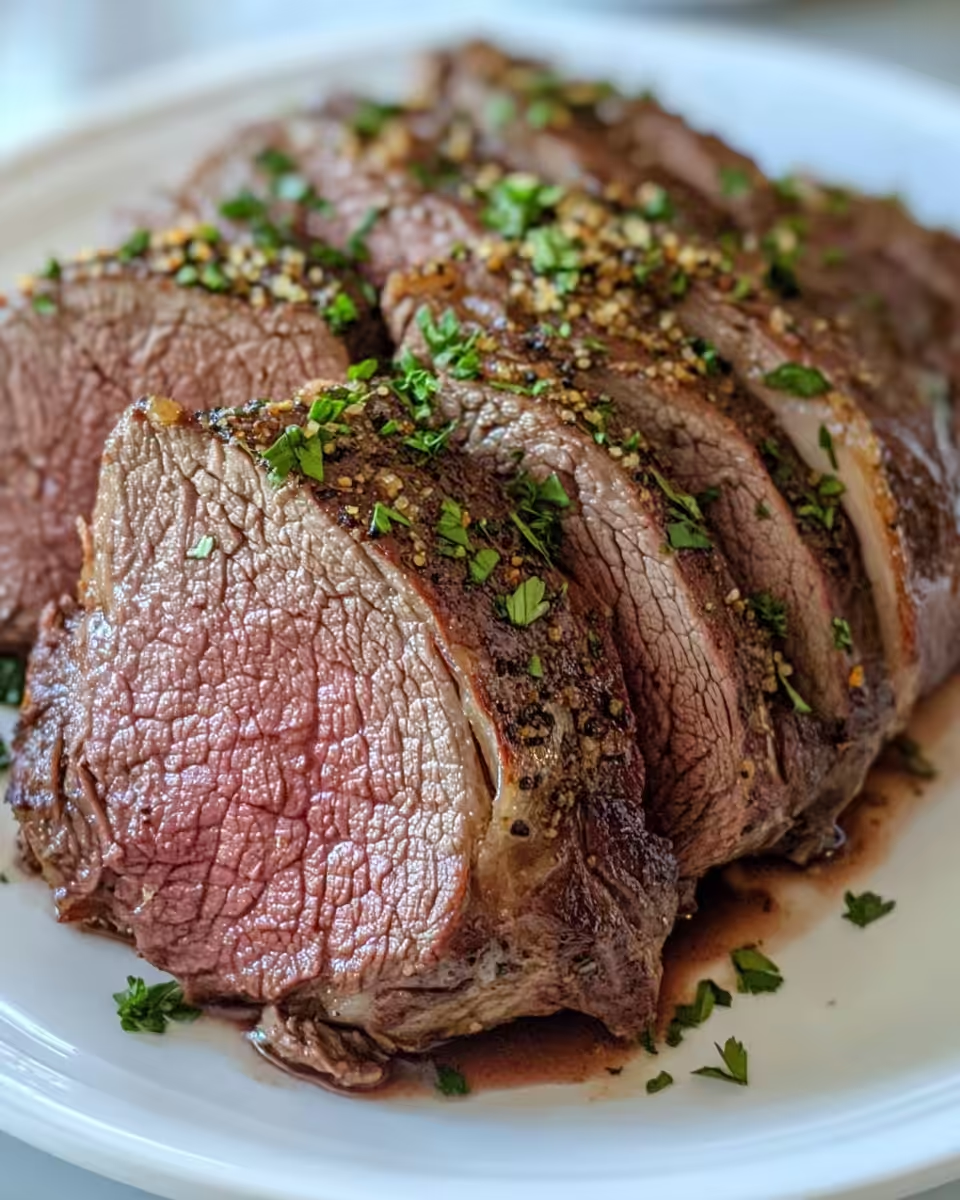
You got a float valve popping up, and that means your pressure’s just where it’s supposed to be. You’re cooking something that’s gonna be tender enough to pull apart with your fingers, no knife struggles here. The wait feels a little long but heck, patience is part of the deal.
And while it’s humming away, you catch the smells mixing up. Garlic, paprika, soy sauce kinda dancing together. You just know dinner’s gonna hit the spot after all day rushing around the city, right?
What Makes Pressure Cooking Win Every Round
- It’s a speed demon compared to ovens or slow cookers, cuts down your wait big time.
- Locks in flavors better cause the sealed environment keeps everything juicy.
- Uses way less water so your dishes aren’t all soggy and sad.
- Less kitchen mess cause it’s basically one pot doing all the work.
- You don’t gotta babysit it, just set that timer and walk away.
- It’s super versatile, can do meat meals, stews, even desserts if you feel adventurous.
If you’re interested in quick and flavorful meals, check out Delicious Enchilada Pasta: A Flavorful Tex-Mex Fusion Dish for more speedy dinner ideas. Also, Delicious Tortilla Burger Recipes and Creative Variations offers a fun twist on classic wraps to keep your meal plan exciting.
What Goes Into the Pot Today
- 3 pounds sirloin tip roast with the twine removed, ready to get cozy with flavors.
- 1.5 pounds baby potatoes sitting at the bottom for that tender pull.
- 2 cups baby carrots bringing sweetness and color to your plate.
- 1 large yellow onion, sliced into rings to layer on that deep savory taste.
- 3 tablespoons unsalted butter, cubed and spread out to add richness.
- 1 cup beef broth giving that hearty base for cooking juices.
- 3 tablespoons apple cider vinegar for a slight tang that wakes things up.
- 3 tablespoons soy sauce or liquid aminos if you’re going gluten-free friendly.
- 2 tablespoons Worcestershire sauce, extra depth of flavor coming through.
- 2 teaspoons garlic powder, 2 teaspoons onion powder for that classic savory punch.
- 1 teaspoon smoked paprika adding a subtle smoky twist.
- 1 teaspoon dried parsley and ½ teaspoon salt, plus 1 teaspoon ground black pepper for the finishing touch.
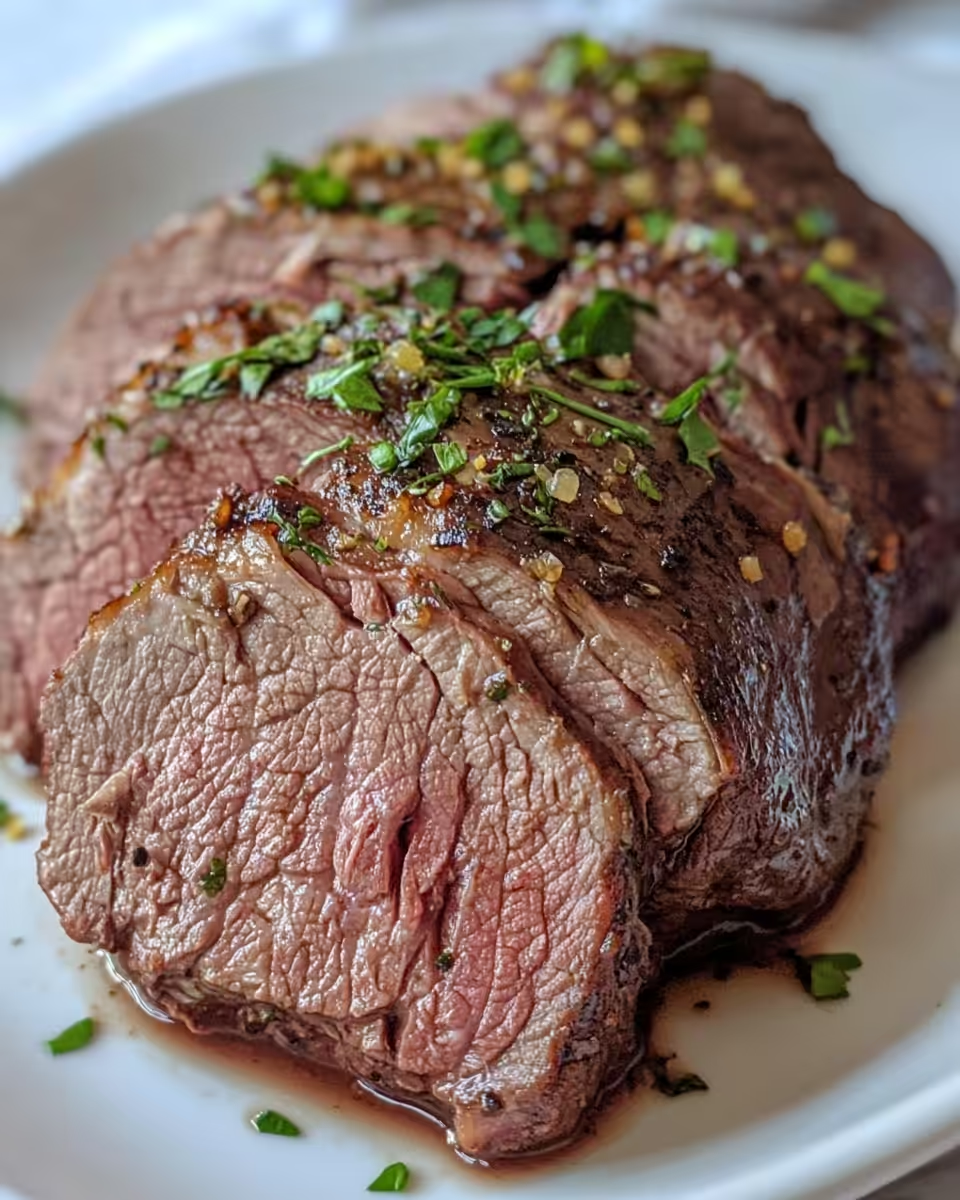
For more savory recipes focusing on comfort foods, you might want to explore Delicious Balsamic Chicken Recipe and Health Benefits Guide highlighting tender chicken dishes with rich flavors. Or try Garlic Mushroom Pasta Recipe: Easy & Delicious Guide for a vegetarian pasta alternative full of robust tastes.
Walking Through Every Single Move
First, get your baby potatoes, baby carrots, and sliced onion into the bottom of your Crock Pot. They’re your veggie bed, catching juices and getting soft while the roast cooks.
Next up, lay the sirloin tip roast right on top of those veggies. This lets it soak up all those good flavors coming off the bottom. No twine here, gotta let that meat relax and cook evenly.
Dot the cubed butter all over the roast. Those little fat pockets melt down and keep everything rich and juicy. Butter really helps pull the flavors together.
Mix up your beef broth, apple cider vinegar, soy sauce, Worcestershire sauce, and garlic powder in a small bowl. Whisk like you mean it until it’s all blended nicely.
Pour that liquid mixture over your roast and veggies carefully, making sure you cover everything. The liquid gives you the steam to create the pressure and tenderize the meat and veggies alike.
Pop the lid on your cooker, check that sealing ring is seated properly (don’t wanna lose pressure on this one). Set it to low pressure and cook for about 8 hours. When your timer finishes, do a quick release to drop the pressure, watch that float valve sink and your steam cues calm down before opening.
Take that roast and veggies out, let the roast rest for 10 minutes before slicing into it. This helps keep juices inside the meat instead of running out on you. Serve everything with a spoonful of the cooking juices poured on top. Heck, that sauce is the best part.
Time Savers That Actually Work
- Use pre-sliced onions if you spot them at the store, saves slicing time and tears.
- Baby carrots and potatoes usually pre-washed, so just dump ’em in straight from the bag.
- Measure and mix your liquid ingredients in advance while the veggies go in.
- Remove the roast twine before you even start prepping, so you’re ready to go.
- Quick release at the end lets you jump straight to resting and serving without waiting forever.
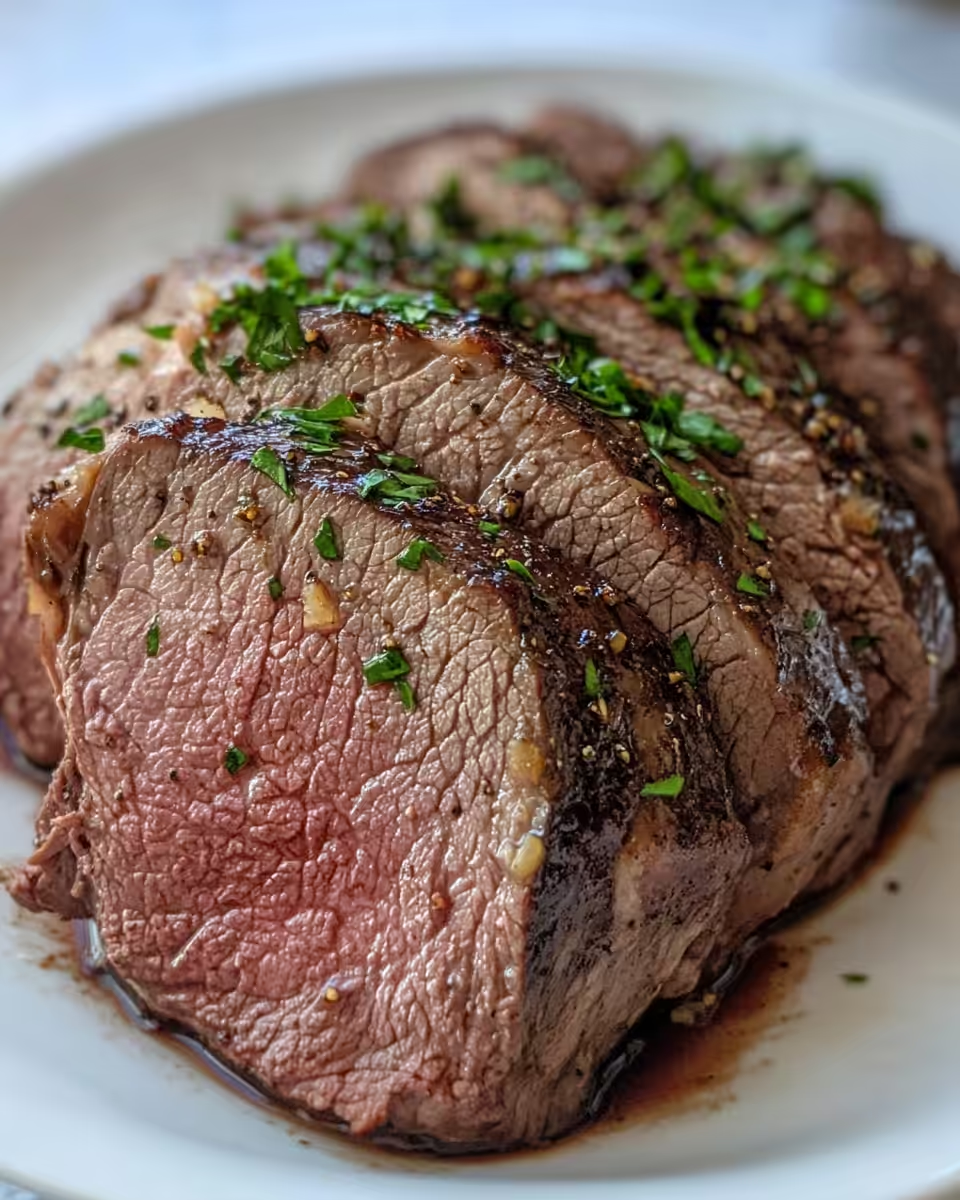
And here’s another visual to help you picture the prep stage.
That First Bite Moment
You feel that tender pull, how the roast practically falls apart when you stab it with your fork. It’s soft in that dang perfect way, you know? Juices soak into every bite, kinda wet but not soggy.
The potatoes and carrots picked up those cooking juices, blending the tangy, savory sauce into their sweet natural taste. The onions melt into every bite, giving a little hint of caramelized goodness.
But heck, it’s the sauce that steals some spotlight. That mix of soy, vinegar, and Worcestershire thickens just enough over the heat to carry your dinner flavors. A spoonful of that on your plate makes every forkful sing.
And the butter, don’t forget the butter. It wraps everything in creaminess and helps balance the acidity from the vinegar. It’s like the whole pot worked together to make a perfect, comforting dinner.
You might also enjoy quick and tasty pasta dishes like Delicious Enchilada Pasta, which bring bold flavors to your table fast.
How to Store This for Later
Once cooled, you can keep leftovers in an airtight container in the fridge for about 3-4 days. The meat stays juicy and the veggies soak up the flavors overnight.
Freeze portions by placing slices of roast and veggies in freezer bags. Press out air and they’ll hold up well for 2-3 months. When thawing, do it overnight in the fridge for best texture.
You can also separate the meat and veggies to freeze if you wanna use them in different meals later on. That way you can pull just what you need without defrosting the whole batch.
The FAQ Section You Actually Need
- Can I use other cuts of beef? Sure thing, but sirloin tip works best for tender pull. Chuck roast is a good backup too.
- Do I need to brown the roast first? Nope, this recipe skips that to keep it simple. The pressure cooker’ll do all the flavor building you need.
- What if I don’t have baby potatoes? You can chop regular potatoes into chunks. Just make sure they’re about the same size for even cooking.
- How do I know when it’s done? After the cook time, the float valve will drop with quick release and roast should shred easy when poked.
- Can I use fresh garlic instead of powder? Yep! Just mince 2-3 cloves and add it to the liquid mix before cooking.
- Is it safe to leave on low pressure for 8 hours? For sure. Modern pressure cookers are made for slow pressure cooking, but check your model’s guide to be certain.
For more recipes featuring hearty and comforting dishes, check out Balsamic Chicken or the Garlic Mushroom Pasta recipe for something lighter.
Crock Pot Sirloin Tip Roast Pressure Cooker Recipe
Equipment
- 1 Slow cooker
Ingredients
Main ingredients
- 3 pounds Sirloin tip roast twine removed
- 1.5 pounds Baby potatoes
- 2 cups Baby carrots
- 1 large Yellow onion sliced into rings
- 3 tablespoons Unsalted butter cubed
- 1 cup Beef broth
- 3 tablespoons Apple cider vinegar
- 3 tablespoons Soy sauce or liquid aminos
- 2 tablespoons Worcestershire sauce
- 2 teaspoons Garlic powder
- 2 teaspoons Onion powder
- 1 teaspoon Smoked paprika
- 1 teaspoon Dried parsley
- 0.5 teaspoon Salt
- 1 teaspoon Ground black pepper
Instructions
Instructions
- Place baby potatoes, carrots, and sliced onion at the bottom of the Crock Pot.
- Set the sirloin tip roast on top of the veggies, twine removed.
- Distribute cubed butter evenly on top of the roast.
- In a bowl, whisk together beef broth, apple cider vinegar, soy sauce, Worcestershire sauce, garlic powder, onion powder, paprika, dried parsley, salt, and pepper.
- Pour the liquid mixture over the roast and vegetables evenly.
- Cover the Crock Pot with the lid, ensure the sealing ring is correctly in place, and cook on low for 8 hours.
- When finished, use quick release to release pressure, then open lid carefully.
- Remove and rest the roast for 10 minutes before slicing. Serve with vegetables and spoonful of au jus.