That first hiss from the cooker tells you something good is happening. You watch the valve rise and you catch that sharp valve hiss, knowing the sealing ring’s doing its job and locking in all that broth depth for your chicken. The sound itself makes your mouth water, like dinner’s not just on its way but it’s about to be something fantastic.
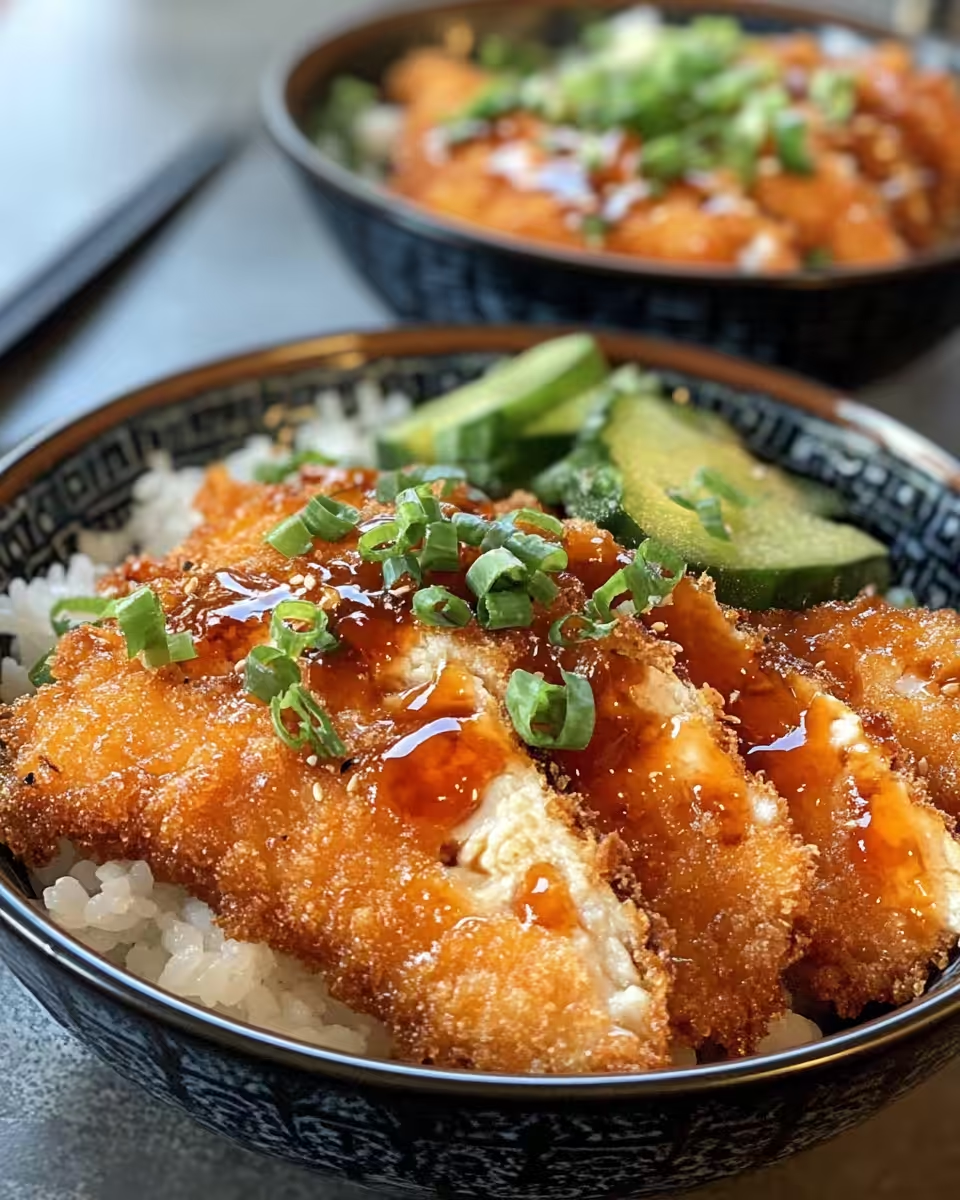
You might already be thinking about the crispy bits on that chicken, even though it’s still cooking. The tender pull you’ll get once this chicken’s done pressure cooking, it’s unlike any other. It’s juicy but not soggy and that crust is gonna stay nice and crisp after you fry it quick.
This Easy Chicken Katsu Bowls recipe is one of those dishes that’s simple but hits all the right spots. From the perfect breading to the curry mayo sauce drizzled on top, you’ll feel like you got a restaurant meal right in your own kitchen. Plus, using your pressure cooker for parts of it saves you tons of time and hassle. You’re gonna love how it all comes together.
Why This Recipe Works Every Single Time
- You get that perfect tender chicken every time thanks to the pressure cooker’s even heat and quick release.
- The breading stays crispy because you fry the chicken after cooking it in the pressure cooker, not before.
- Curry mayo sauce adds a creamy, tangy kick that’s super easy to whip together and flavor-packed.
- Simple ingredients that you probably already got in your kitchen keeping it stress-free and doable.
- It’s a balanced meal with rice, veggies, and protein all in one bowl making dinner feel complete.
Everything You Need Lined Up
So let’s talk ingredients you gotta gather first. You need 4 chicken breasts — make sure they’re fresh and ready to pound to even thickness so they cook perfectly. Then grab 1 cup of flour seasoned with a teaspoon of salt for that base coating. This bit’s important, it helps the egg and crumbs stick good.
Speaking of eggs, you gotta have 2 beaten eggs to dip those chicken pieces in. Then there’s the crunchy part — 2 cups of panko breadcrumbs seasoned with salt too. This gives that golden crust you’ll wanna bite into. For seasoning throughout, sprinkle in 2 teaspoons of salt overall.
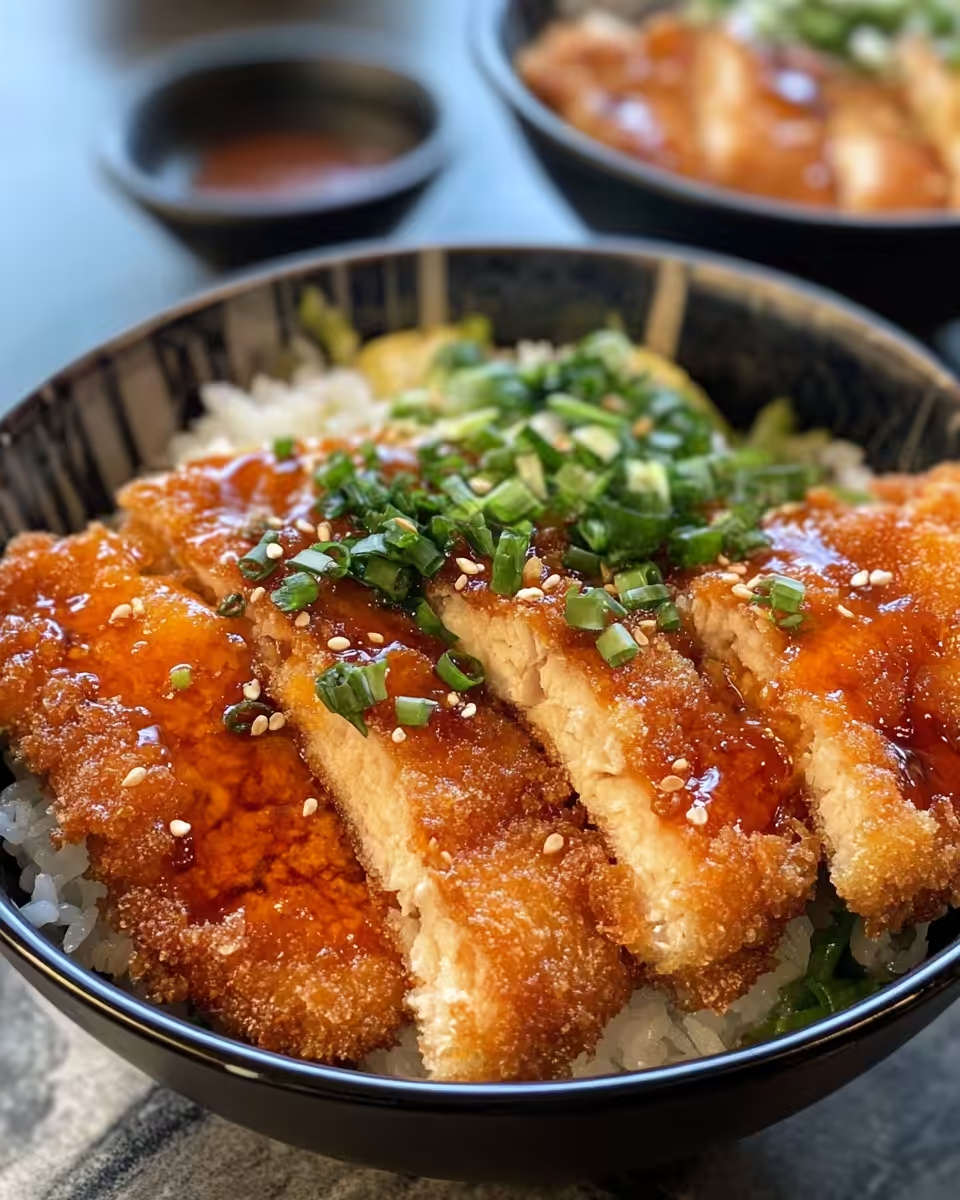
Next, you’ll make the katsu sauce mixing ¼ cup mayo, ¼ cup plain yogurt with a tablespoon of curry powder, a teaspoon of honey, and a teaspoon of rice vinegar. If you like a little heat, 2-3 teaspoons of sriracha is perfect to stir in.
For the bowls, you’ll want 4 cups cooked rice, plus sliced avocado, some cucumber slices, green or spring onion chopped up, and a sprinkle of sesame seeds on top to finish your dish right. It’s a nice fresh contrast to all that fried yum.
The Exact Process From Start to Finish
First, pound your chicken breasts evenly with a meat mallet or rolling pin so they cook right through and don’t get crazy thick in some spots. It helps with that tender pull later.
Next, you set up your dredging station with the seasoned flour, beaten eggs, and seasoned panko breadcrumbs. Take each chicken breast and coat it in flour, dip in egg, then press into the panko crumbs making sure it sticks well.
Heat some oil in a skillet over medium. Fry the chicken breasts two at a time, about 4 to 5 minutes per side until golden and cooked through. Don’t crowd the pan or the crust won’t crisp up right.
Once done, place the chicken on a paper towel-lined plate to soak up any excess oil. You want that crust to stay crispy but not greasy.
Meanwhile, whisk up your curry mayo sauce mixing mayo, yogurt, curry powder, honey, rice vinegar, and sriracha if you want a little extra kick. Taste and adjust to your liking.
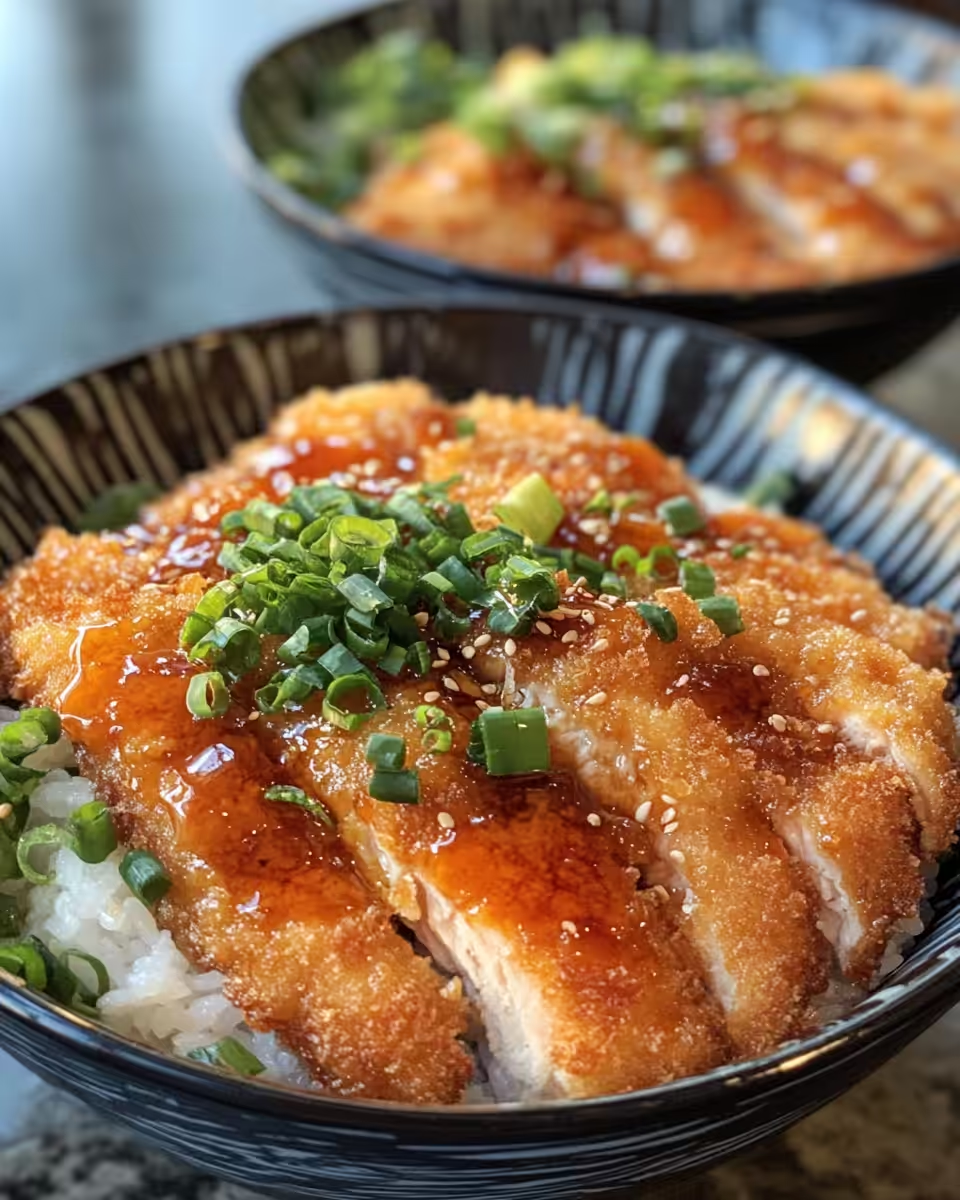
Finally slice your crispy cooked chicken into strips and pile it over steamed rice. Add slices of avocado, cucumber, green onions, and sprinkle sesame seeds on top. Drizzle with the curry mayo sauce for a bowl you’re gonna devour fast.
Smart Shortcuts for Busy Days
You can always buy pre-cooked rice to save time. It works real good and you just steam or microwave it quick. Helps you get dinner on the table faster without fuss.
Using store-bought katsu sauce or even a curry mayo pre-made blend is a slick shortcut. It’s sometimes easier when you’re in a rush and still want that flavor.
If you wanna save on the frying step, consider air frying the breaded chicken. It cuts down oil and cleanup but still gives you that crispy crust texture you want. Just make sure you use the sealing ring on your pressure cooker tight for the chicken part to steam just right.
That First Bite Moment
That first bite is always the best part. You feel the crunch from the panko crust right away, loud and crispy. It’s kinda like a little surprise under your teeth each time.
Then the tender pull from the chicken fills in the rest of the bite. Juicy but cooked exactly right so it doesn’t dry out or get rubbery. It’s juicy and real satisfying.
The curry mayo sauce adds a creamy tang that coats your tongue and pulls everything together. A little bit spicy, little sweet, and super smooth against that crunch.
Last, you taste each fresh veggie slice and sesame seed sprinkle adding a cool contrast. It’s a bowl full of textures and flavors all working together nice and cozy in every spoonful.
Keeping Leftovers Fresh and Ready
Store leftover chicken katsu in an airtight container in the fridge. It keeps well for up to 3 days. When you reheat, a quick release method with the pressure cooker helps warm it without drying it out.
If you wanna keep that crisp texture, reheat the chicken in a hot oven or toaster oven for a few minutes. It helps bring back the crunch without turning it soggy like the microwave usually does.
For rice, store separately in a sealed container so it doesn’t get mushy from the chicken’s moisture. You can steam or microwave it when ready to eat.
Everything Else You Wondered About
- Can I use chicken thighs instead of breasts? Yeah, thighs work good too. Just adjust cooking time since thighs are a bit thicker and fattier.
- Do I really need to pound the chicken? It’s best to get even thickness for uniform cooking. Otherwise, some parts might dry out while others stay undercooked.
- Why do I fry after pressure cooking? Frying last keeps the breading crisp. If you fry before pressure cooking, breading gets soggy under steam.
- What’s the sealing ring for? It keeps the pressure cooker tight and seals in steam so your chicken cooks with good broth depth inside.
- Can I make this gluten-free? Sure thing, swap regular flour and panko for gluten-free versions and you’re set.
- How spicy is the curry mayo sauce? It’s mild with a touch of sriracha. You can always add more if you like it hotter or skip the heat for kids.
Easy Chicken Katsu Bowls
Equipment
- 1 Mixing bowl For whisking sauce
Ingredients
For the chicken katsu
- 4 chicken breasts
- 1 cup flour seasoned with 1 teaspoon salt
- 2 eggs beaten
- 2 cups panko breadcrumbs seasoned with 1 teaspoon salt
- 2 teaspoon salt divided
For the curry sauce
- ¼ cup mayonnaise
- ¼ cup plain yogurt
- 1 tablespoon curry powder
- 1 teaspoon honey
- 1 teaspoon rice vinegar
- 2-3 teaspoon sriracha optional
For the bowls
- 4 cups cooked rice
- 1 avocado sliced
- cucumber sliced
- green onion or spring onion chopped
- sesame seeds
Instructions
Instructions
- Pound the chicken breasts to an even thickness using a meat mallet or rolling pin.
- Set up dredging station with seasoned flour, beaten eggs, and panko breadcrumbs. Dredge the chicken through each step until coated.
- Heat oil in skillet over medium and fry chicken 4–5 minutes per side until golden and cooked through.
- Drain fried chicken on paper towels to remove excess oil.
- Whisk all curry mayo sauce ingredients together. Taste and adjust seasoning as needed.
- Slice chicken, serve over rice, top with avocado, cucumber, green onion, sesame seeds, and drizzle with sauce.