The pressure builds and you start counting down minutes until you eat. You spot the sealing ring on your pressure cooker is seated just right, and it feels good knowing this method's gonna give you that perfect tender pull on your eggs. A few more moments until the valve hisses and steam cues you that cooking's underway.
The kitchen fills with warmth and your appetite grows. You remember how the last time you boiled eggs on the stove, peeling was always a pain. But pressure cooking? It changes everything. You’re almost there, just gotta wait out the pressure build and the natural release.
Finally, the valve drops and you open it up to find smooth, perfectly cooked eggs. You catch that satisfying feeling when the shells slide right off. It's like pressure cookers really know how to handle eggs with love. This countdown is absolutely worth it.
The Real Reasons You Will Love This Method
- Perfectly cooked eggs every single time with minimal fuss.
- Shells peel off like a dream, no frustrating sticky bits.
- Hands-off cooking while the pressure cooker does its work.
- Fast cook time compared to traditional boiling methods.
- Consistent tender pull, not overcooked or rubbery yolks.
- Less water on your stove means easier cleanup.
- Great for prepping deviled eggs for parties or snacks.
The Complete Shopping Rundown
- 6 large eggs – fresh but not too fresh; older eggs peel better.
- 3 tablespoons mayonnaise – creamy and smooth for perfect yolk filling.
- 1 teaspoon Dijon mustard – adds a nice tangy kick.
- 1 teaspoon apple cider vinegar – helps balance out flavors.
- Kosher salt and ground black pepper – for seasoning to your taste.
- Paprika – for that classic garnish with a little smoky touch.
- Optional tools to make life easier like a piping bag or a small zip-top bag with a corner cut off to pipe filling.
- An ice bath setup – bowl with ice and water to cool eggs fast after cooking.
- A measuring spoon set so you don’t go crazy eyeballing the mayo and mustard.
You don’t need much here but getting those basics right makes the whole thing smooth and tasty. Remember, a good set of eggs and some simple seasonings are the foundation of classic deviled eggs that impress y’all.
The Exact Process From Start to Finish
Step 1: Place your eggs in the pressure cooker’s trivet or basket. Add about 1 cup of water to the pot – just enough for steam to build but not cover the eggs.
Step 2: Lock the lid, making sure the sealing ring is properly seated. Set the valve to sealing. Turn your pressure cooker on high pressure for 5 minutes. You’ll hear the valve hiss and steam start to escape after the pressure builds.
Step 3: Once the cooking time is done, let the pressure release naturally for 5 minutes. This slow release helps eggs finish cooking just right.
Step 4: Carefully turn the valve to venting and release any remaining pressure quickly. Open the lid and immediately transfer eggs to your ice bath. Let ’em chill for 5 minutes; this shock helps the shells slip off easier.
Step 5: Peel those eggs gently. The steam helped loosen shells so they come off clean. Slice eggs in half lengthwise, and scoop out yolks into a bowl.
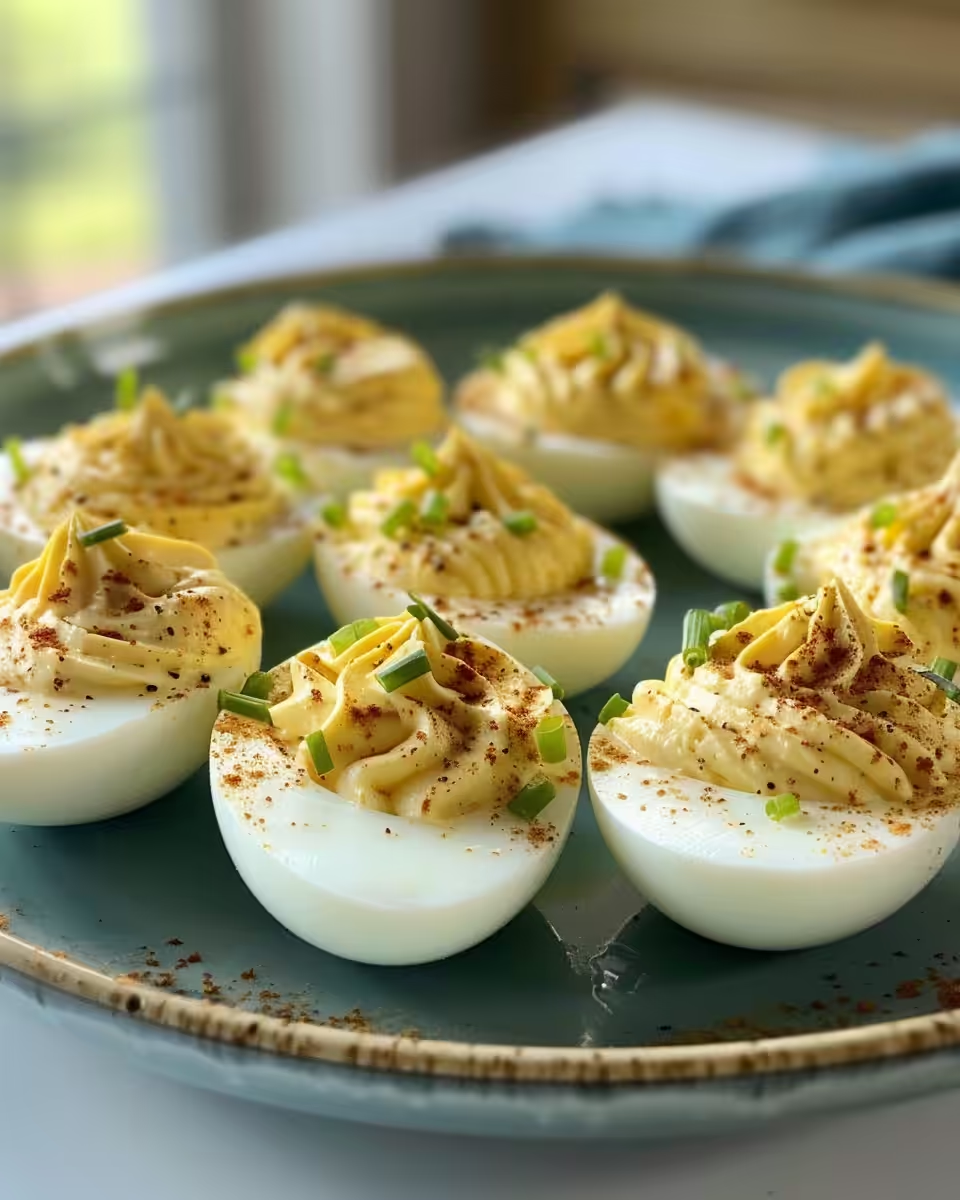
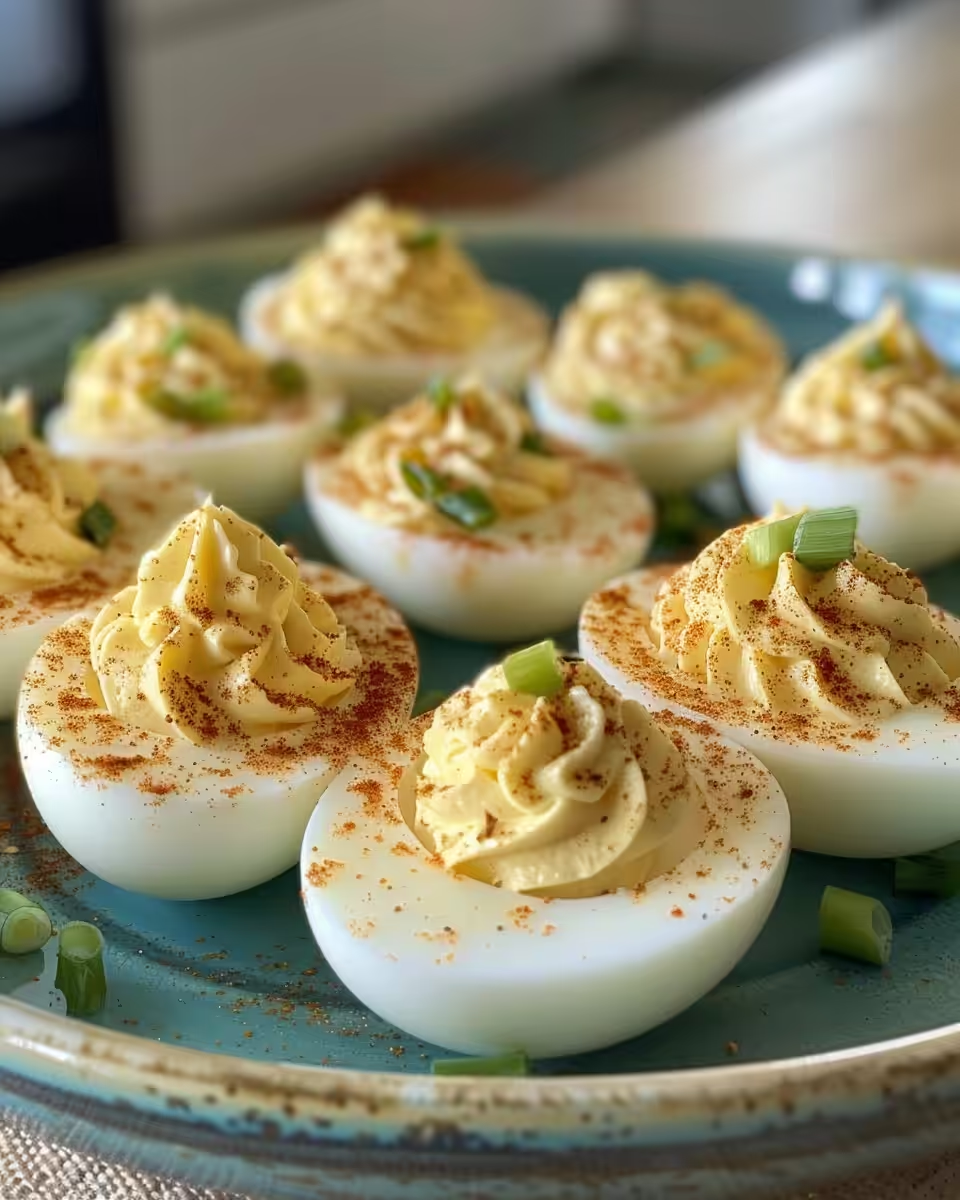
Step 6: Mix yolks with mayo, Dijon, apple cider vinegar, salt, and pepper until smooth. Spoon or pipe the filling back into egg whites. Dust paprika all over for that classic look. Boom, you’re done and ready to serve!
Time Savers That Actually Work
- Use the ice bath set up before you start cooking so it’s ready right after.
- Cook your eggs in the pressure cooker while prepping your mixing bowl and ingredients.
- Pipe filling back with a zip-top bag corner cut off instead of spooning for faster, cleaner work.
- Prep spices ahead and keep ’em in a small bowl nearby to sprinkle while finishing.
- Peel eggs under running water to flush away little shell bits quick and easy.
These simple tricks save you the hassle and keep your flow going smoothly so no moments are wasted when you wanna impress or just snack.
Your First Taste After the Wait
The first bite is creamy, smooth, and hit with that tangy Dijon mustard kick. Your taste buds catch that perfect combo of mayo richness and apple cider zip that keeps things bright.
Your tongue notices how the filling is soft but holds texture, perfectly balanced with the gentle tender pull of the egg white. Sprinkle of paprika adds not just color but a mild smoky hint that ties it all nicely.
You savor that classic deviled egg vibe but with that little extra oomph from pressure cooking making it effortless and flawless. For real, once you try this method, it’s hard to go back.
Smart Storage That Actually Works
If you wanna keep deviled eggs fresh for the next day, store filled eggs in an airtight container lined with paper towels to absorb moisture. It keeps ’em from gettin’ soggy.
You can also keep peeled but unfilled eggs in a bowl of cold water covered in your fridge, changing water daily if you hold ’em longer. This keeps shells easy to peel when you’re ready.
For longer storage, peel eggs and keep yolks separate, mixing fresh before serving. This method works great if you wanna prep in stages without losing freshness or texture.
Your Most Asked Questions Answered
- Can I cook more than 6 eggs at once? Yep! Just stack ’em on the trivet and adjust pressure cooker size accordingly.
- What if my eggs crack during cooking? Sometimes that happens. Adding vinegar to the steaming water can help prevent cracks.
- How do I know when pressure cooker’s done? You listen for the valve hiss and watch the pressure build indicator; once it hits high pressure and timer ends, you start natural release.
- Can I skip the ice bath? You could but peeling is way trickier. Ice bath cools eggs quickly and stops cooking, which is key.
- Why use pressure cooker over boiling? It cooks eggs evenly, shells peel easier, and it’s hands off once you set it.
- How do I get that smooth filling? Mix yolks thoroughly with mayo and mustard till silky smooth; using a fork or whisk helps a lot.
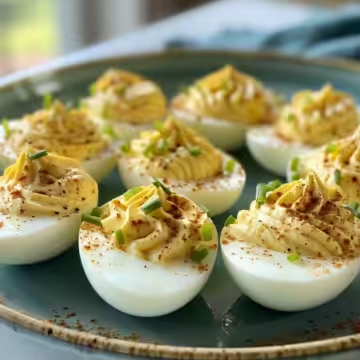
Classic Deviled Eggs Pressure Cooker Recipe
Equipment
- 1 Pressure cooker for cooking the eggs
Ingredients
Main ingredients
- 6 large eggs fresh but not too fresh; older eggs peel better
- 3 tablespoons mayonnaise creamy and smooth for perfect yolk filling
- 1 teaspoon Dijon mustard adds a nice tangy kick
- 1 teaspoon apple cider vinegar helps balance out flavors
- Kosher salt and ground black pepper for seasoning to your taste
- Paprika for that classic garnish with a little smoky touch
Instructions
Instructions
- Place your eggs in the pressure cooker’s trivet or basket. Add about 1 cup of water to the pot – just enough for steam to build but not cover the eggs.
- Lock the lid, making sure the sealing ring is properly seated. Set the valve to sealing. Turn your pressure cooker on high pressure for 5 minutes. You’ll hear the valve hiss and steam start to escape after the pressure builds.
- Once the cooking time is done, let the pressure release naturally for 5 minutes. This slow release helps eggs finish cooking just right.
- Carefully turn the valve to venting and release any remaining pressure quickly. Open the lid and immediately transfer eggs to your ice bath. Let ’em chill for 5 minutes; this shock helps the shells slip off easier.
- Peel those eggs gently. The steam helped loosen shells so they come off clean. Slice eggs in half lengthwise, and scoop out yolks into a bowl.
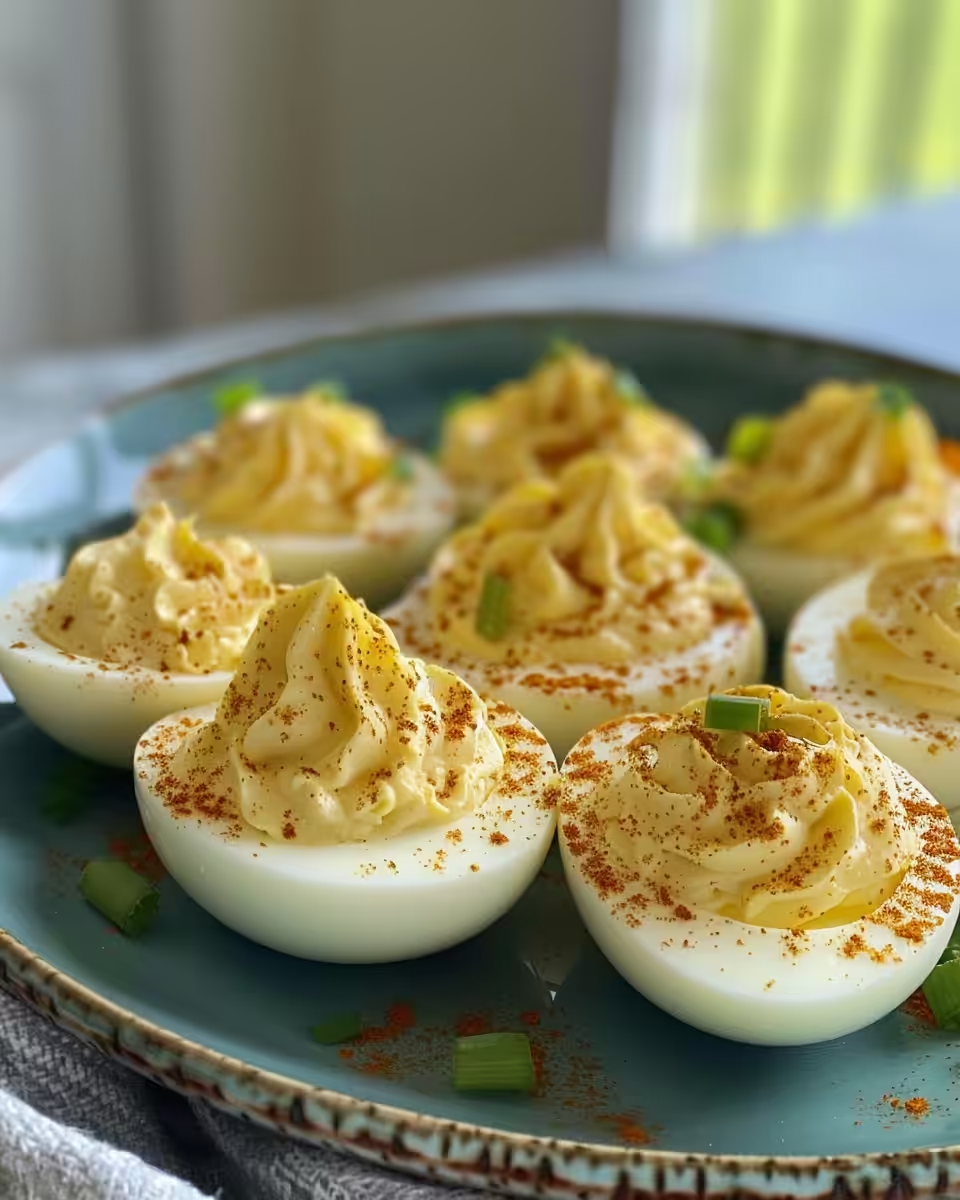
- Mix yolks with mayo, Dijon, apple cider vinegar, salt, and pepper until smooth. Spoon or pipe the filling back into egg whites. Dust paprika all over for that classic look. Boom, you’re done and ready to serve!