The pot lid rattles and you know dinner is almost ready. You catch that familiar steam cue and feel the little buzz of excitement. It’s that exact moment you realize food's gonna be perfect because the pressure build was strong and steady.
Pressure cookers are kinda like that best kitchen buddy who’s always got your back. You remember the last time you rushed dinner and this gadget saved the day without breaking a sweat. Tonight, it’s all about hard boiling eggs just right for your deviled egg bar.
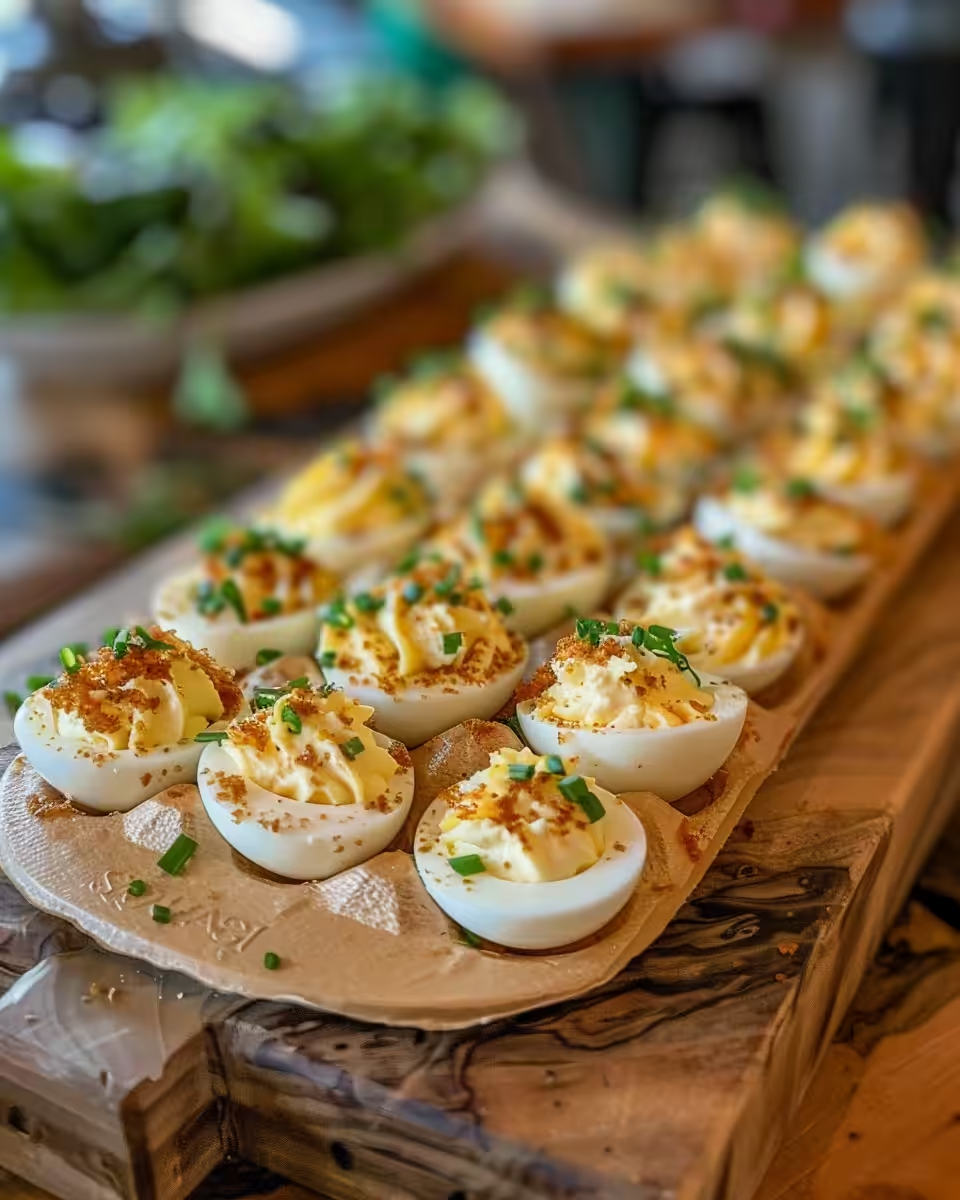
You’re peeking through the glass lid, imagining all those creamy yolks whipped up with mayo and mustard, sprinkled with paprika and chives waiting for the slow release to end. You can't wait to crack that lid and start assembling y’all’s favorite finger food.
What Makes Pressure Cooking Win Every Round
- Hands-off cooking frees you up for other stuff. For more quick dishes, check out our Easy Chicken Caesar Pasta Salad or Quick High Protein Greek Pasta Salad.
- Pressure cookers get eggs done perfectly firm without fuss.
- You get quicker cooking times compared to boiling on stove.
- Energy usage drops because less heat time is needed.
- Natural release helps prevent cracks in eggshells real good.
- Steam cues let you know when to expect the pressure build downhill.
- Cleanup is shorter since you use one pot only.
What Goes Into the Pot Today
- 6 large eggs, gotta be fresh but not too fresh so peeling gets easier.
- ¼ cup mayonnaise for that creamy texture you love.
- 1 teaspoon Dijon mustard to add a little zip.
- Salt to taste, just enough to bring flavors together.
- Black pepper to taste because a little kick never hurts.
- Smoked paprika for a beautiful garnish and subtle smoky flavor.
- Chives chopped fine to sprinkle over for that fresh pop.
- Water, a cup or so to help with pressure cooking the eggs.
- Optional extras like hot sauce or crispy bacon bits if you wanna jazz it up later.
Walking Through Every Single Move
Step 1. Pour about 1 cup water into your pressure cooker pot. Place a steaming rack inside so eggs don’t touch water directly.
Step 2. Arrange your 6 eggs on the rack carefully, try not to crowd ’em.
Step 3. Lock the lid and set your cooker to high pressure for 5 minutes. Wait for that pressure build, you’ll feel it quick.
Step 4. When the timer beeps, do a quick release to let out the pressure fast but be careful of hot steam.
Step 5. Immediately transfer eggs to an ice bath or cold water to stop cooking and help peels come off easier.
Step 6. Peel those eggs gently, cut ’em in half lengthwise, and scoop out the yolks into a bowl.
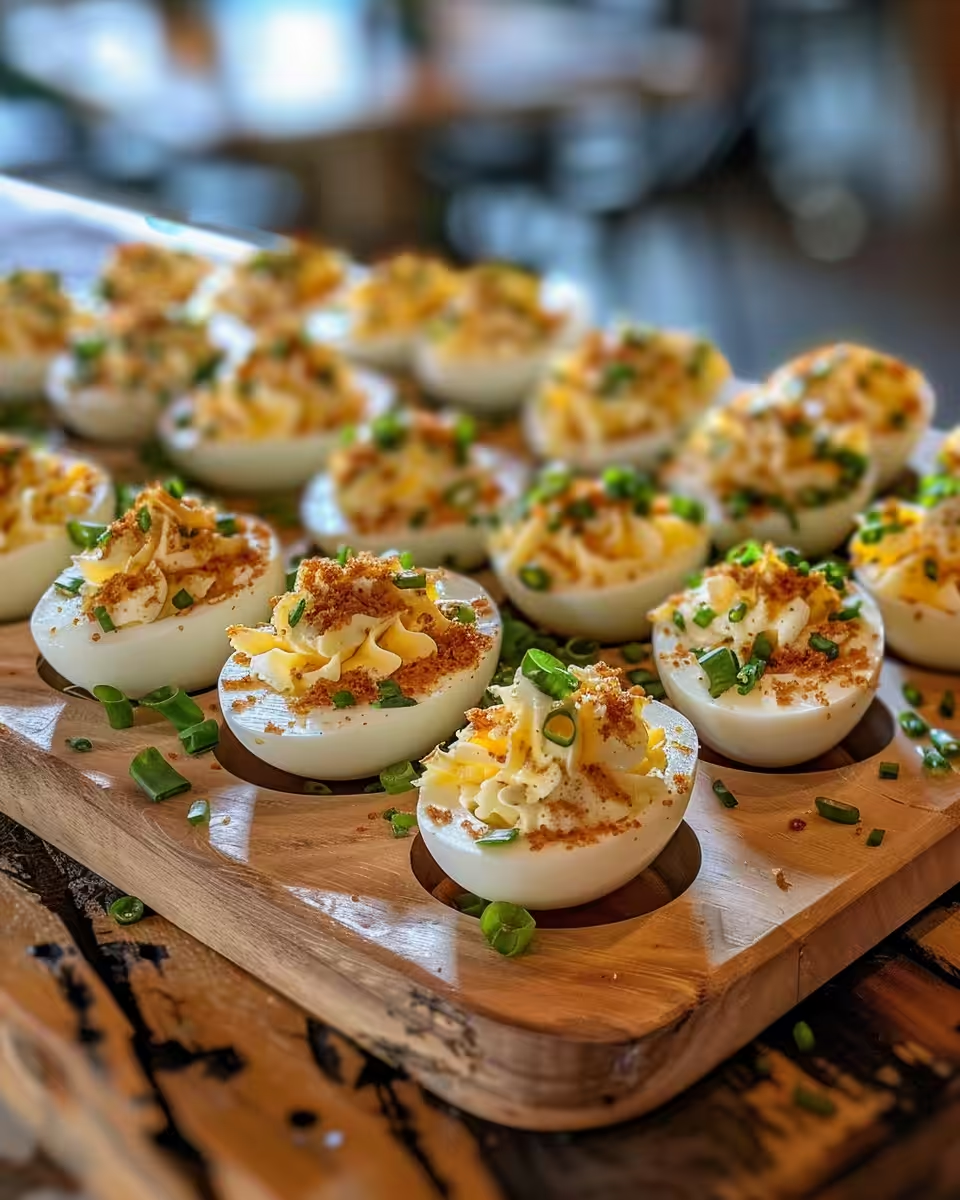
Step 7. Mash yolks with mayo, Dijon, salt, and pepper until smooth and fluffy. Spoon or pipe that mix right back into egg whites and top with paprika and chives before serving. Easy as heck!
Smart Shortcuts for Busy Days
- Cook eggs in the pressure cooker the night before, then keep them peeled in an airtight container.
- Use a piping bag or zip top bag with a corner snipped instead of spooning for quick filling.
- Pre-chop chives and keep in the fridge to save time.
- Mix the filling ahead, cover, and store so you only assemble when party starts.
- Add pre-cooked bacon bits or pre-made spice mixes instead of making from scratch.
What It Tastes Like Fresh From the Pot
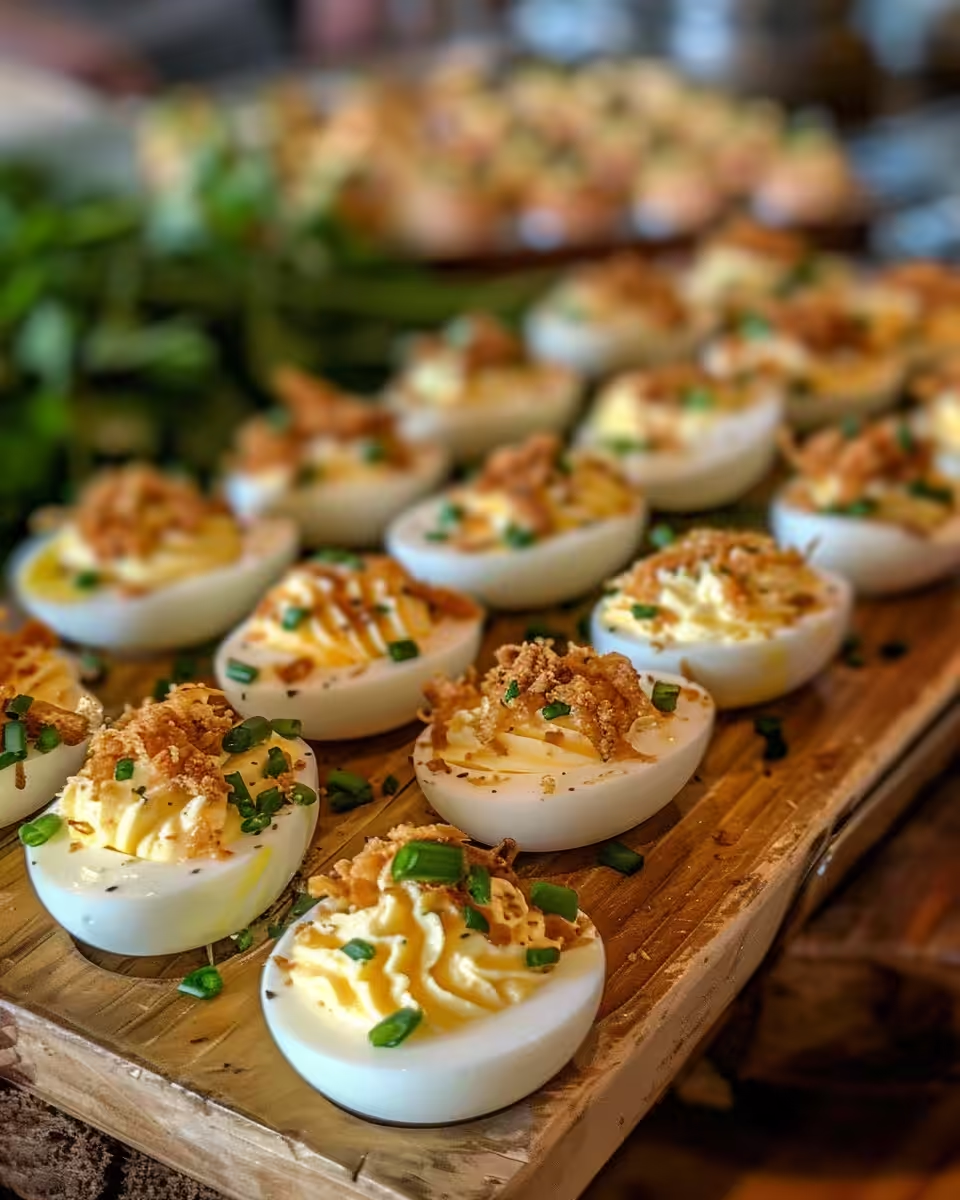
The first bite of your deviled egg has this creamy tang that hits just right. The mayo and mustard blend smooth with a little zing, making this classic feel kinda fancy.
That toasted smoky paprika on top gives it more depth without overpowering the eggs’ mellow taste. The pepper adds a subtle nudge, so you don't get bored halfway through.
Chives give it a little fresh brightness, balancing all those rich flavors perfectly. You feel that addictive combo that makes you wanna keep going back for more.
Your Leftover Strategy Guide
Store any leftover deviled eggs in a single layer in an airtight container to keep them fresh. You don’t want that filling drying out or eggs getting mushy on the bottom.
If you peeled extra eggs but haven’t filled them yet, keep those peeled eggs in cold water in the fridge so they stay nice and moist for a day or two.
For the filling, store it separately in an airtight container so you can pipe fresh bites whenever you like during the week. Just keep it chilled.
If you wanna take it longer, freeze the filling alone without eggs. When you thaw it, give it a good stir before filling eggs again.
The FAQ Section You Actually Need
Q1. Can I use older eggs for easier peeling?
Yes, eggs that are about a week old tend to peel easier after pressure cooking. Fresh eggs might stick more.
Q2. How exactly do I do a quick release safely?
Hold the lid’s steam vent tool and let steam escape slowly away from your face and hands. Use a wooden spoon if needed to nudge the valve open.
Q3. What happens if I don’t do a quick release right after cooking?
If you let pressure release naturally, eggs keep cooking and might get overdone. Quick release stops heat fast so yolks stay creamy.
Q4. Is piping the filling better than spooning?
Piping looks neater and is faster when making large batches but spooning works just fine if you’re in a pinch.
Q5. Can I add other flavors to the filling?
Absolutely! Hot sauce, bacon, dill, or even avocado can spice up the classic mix in ways you’ll love.
Q6. What’s the best storage time for deviled eggs?
They’re best eaten within 2 days for freshness. Keep refrigerated and covered to prevent drying out.
For more tasty and quick recipes using a pressure cooker, don't miss our Easy Chicken Caesar Pasta Salad, Quick High Protein Greek Pasta Salad, and the flavorful One Pot Shawarma Chicken and Rice to keep dinner exciting all week long.
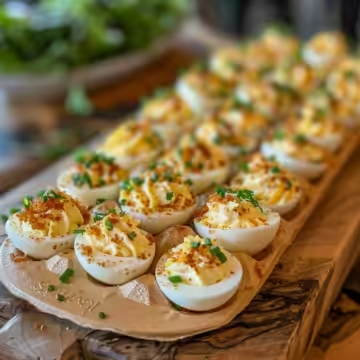
Yes, You Need a Deviled Egg Bar! Here’s How to Do It
Equipment
- 1 Pressure Cooker for cooking the eggs
- 1 Steaming Rack to keep eggs above water
- 1 Mixing Bowl for mixing yolk filling
Ingredients
Deviled Egg Ingredients
- 6 large Eggs fresh but not too fresh for easier peeling
- ¼ cup Mayonnaise for creamy texture
- 1 teaspoon Dijon mustard for a little zip
- Salt to taste
- Black pepper to taste
- Smoked paprika for garnish and smoky flavor
- Chives chopped fine for fresh pop
- 1 cup Water for pressure cooking the eggs
- Hot sauce or crispy bacon bits optional extras for variety
Instructions
Cooking Instructions
- Pour 1 cup water into the pressure cooker pot and place a steaming rack inside to keep eggs above water.
- Arrange eggs on the rack carefully, ensuring they are not crowded.
- Lock the lid and set the cooker to high pressure for 5 minutes. Allow pressure to build.
- When done, do a quick release to release pressure, then transfer eggs to an ice bath or cold water.
- Peel eggs, halve them lengthwise, scoop yolks into a bowl, then mix yolks with mayo, mustard, salt, and pepper. Fill egg whites with mixture, garnishing with paprika and chives.