The pot lid rattles and you know dinner is almost ready. That sound is like a little reminder that you’re close to the good part — when you get to taste what you been waiting for. Sometimes I joke you can almost hear the eggs saying they’re about done and ready to party on your plate.
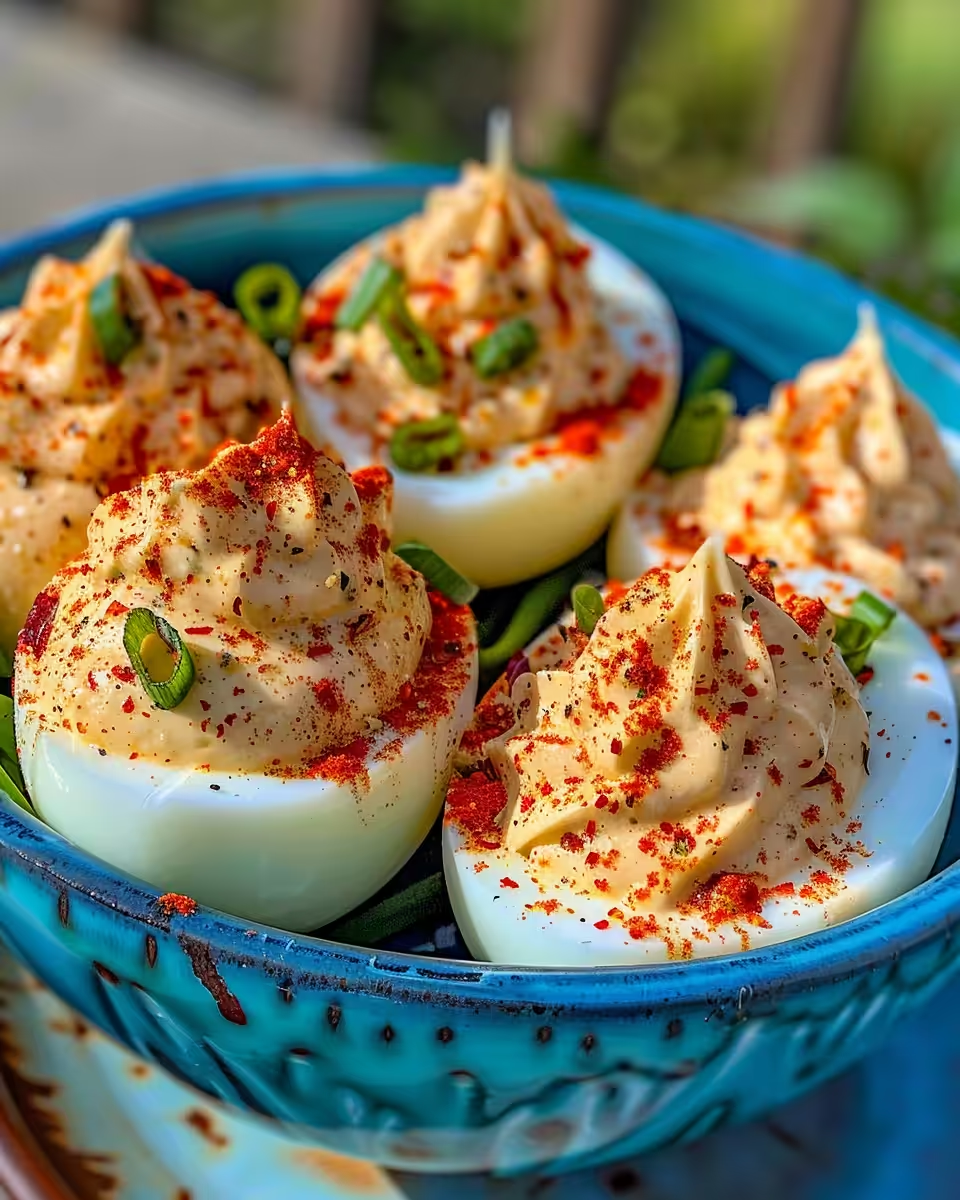
Y’all, pressure cooker cooking is kinda like that too. You get it set up, the sealing ring in place, the broth depth just right, and then bam, it starts building pressure. There’s this humming, this feeling like your kitchen’s gearing up to deliver real fast results. It’s a happy rhythm.
And when the pressure builds just right, then comes that tender pull on your eggs. You know what I mean, right? Eggs come out not too soft but perfectly set for peeling and stuffing. It's one of those moments that makes you wanna shout "heck yeah" for shortcuts and great tastes.
The Truth About Fast Tender Results
- Pressure cookers steam eggs quickly so they cook evenly without drying out.
- The broth depth inside the pot matters to get the steam working just right — usually about an inch or so.
- Natural release lets the eggs finish cooking gently, which means no rubbery shells here.
- Using the sealing ring properly is key to building up pressure that doosn’t leak out.
- Timing is everything; gotta hit about 5 minutes under pressure for perfect tender eggs.
Your Simple Ingredient Checklist
- 7 large eggs – gotta have enough for a snack or a light meal
- ⅓ cup mayonnaise or avocado mayo – creamy base that makes the yolks dreamy
- 1 tablespoon Thai chili garlic sauce – gives you that spicy kick, add more if you’re brave
- Crispy fried onions for topping – adds crunch and flavor, a nice surprise
- Smoked paprika optional for garnish – just a sprinkle for color and earthiness
Keep your ingredients simple and fresh. Eggs straight from the fridge work kinda perfectly in the pressure cooker. Then the mayo, it’s all about texture, so pick what you love. Thai chili garlic sauce is your flavor hero here, so taste as you mix. Fried onions? Oh heck yeah, they take these deviled eggs from good to a little party in your mouth. And smoked paprika? I'll admit I use it mostly for show, but it adds this smoky edge that’s subtle and nice.
The Full Pressure Cooker Journey
- Place 7 eggs in your pot. Make sure they’re in a single layer, you don’t want any cracking.
- Cover the eggs with about an inch of water. That’s your broth depth humming to cook them just right.
- Put the lid on, check the sealing ring to make sure it’s snug, and bring to pressure on high.
- Once the pressure build happens, set your timer for 5 minutes. This is where tender eggs start becoming your best friends.
- Let the pressure release naturally after cooking for about 10 minutes. It helps eggs finish gently and makes peeling a breeze.
- Transfer eggs to an ice bath for at least 5 minutes. That cold shock stops them cooking and makes the peel come right off.
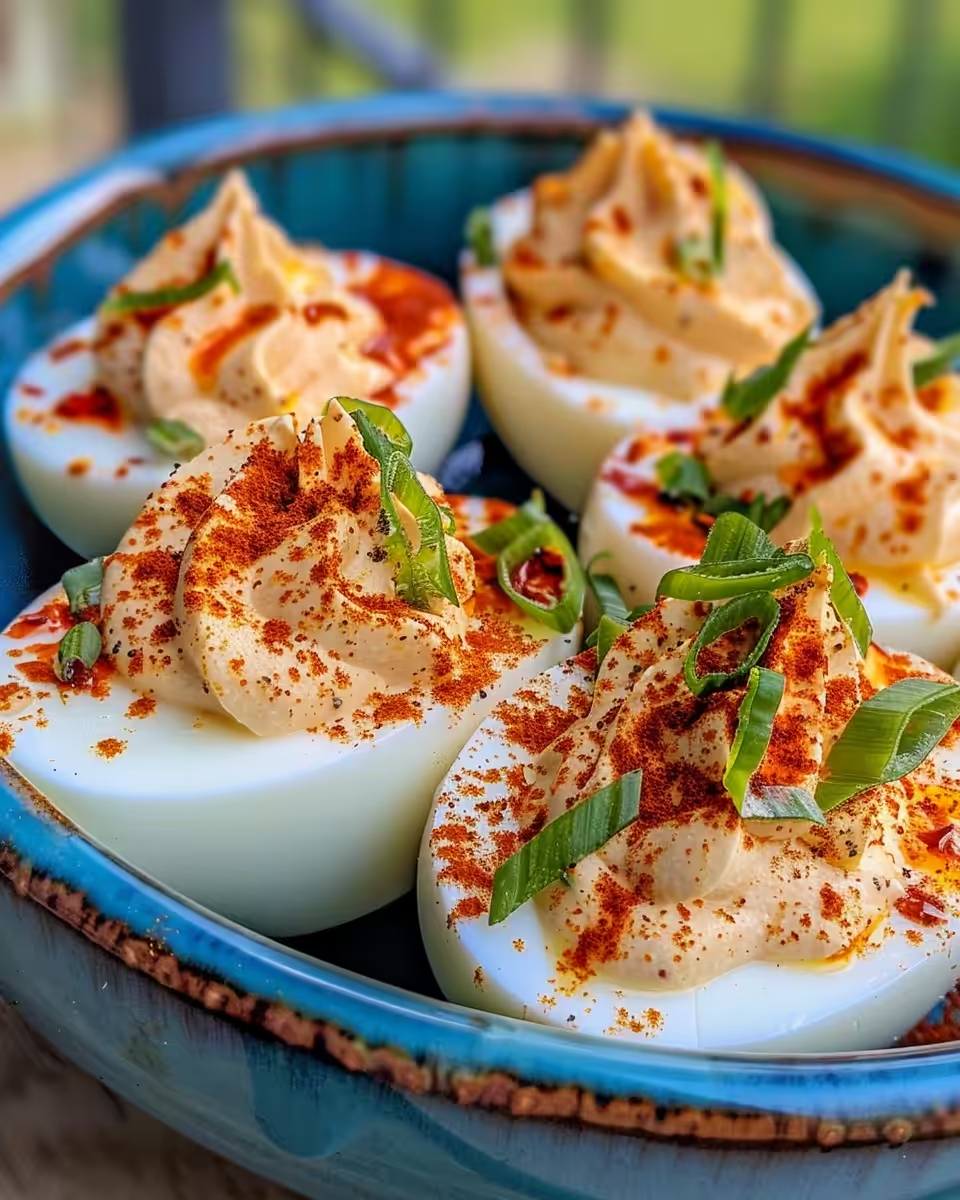
- Peel, slice in half lengthwise, then scoop out yolks. Mix yolks with mayo and Thai chili garlic sauce until smooth. Spoon or pipe back in whites, then top with fried onions and smoked paprika if you want.
Valve Hacks You Need to Know
- If you’re in a rush, quick release works but expect a slightly less tender shell.
- Make sure the valve is clean before cooking — blocked valves won’t let pressure build right.
- When natural release, crack the valve just a bit to slowly release steam if in a hurry but want some gentleness.
- Use silicone sealing rings for spicy recipes to avoid your pressure cooker smelling like chili forever.
What It Tastes Like Fresh From the Pot
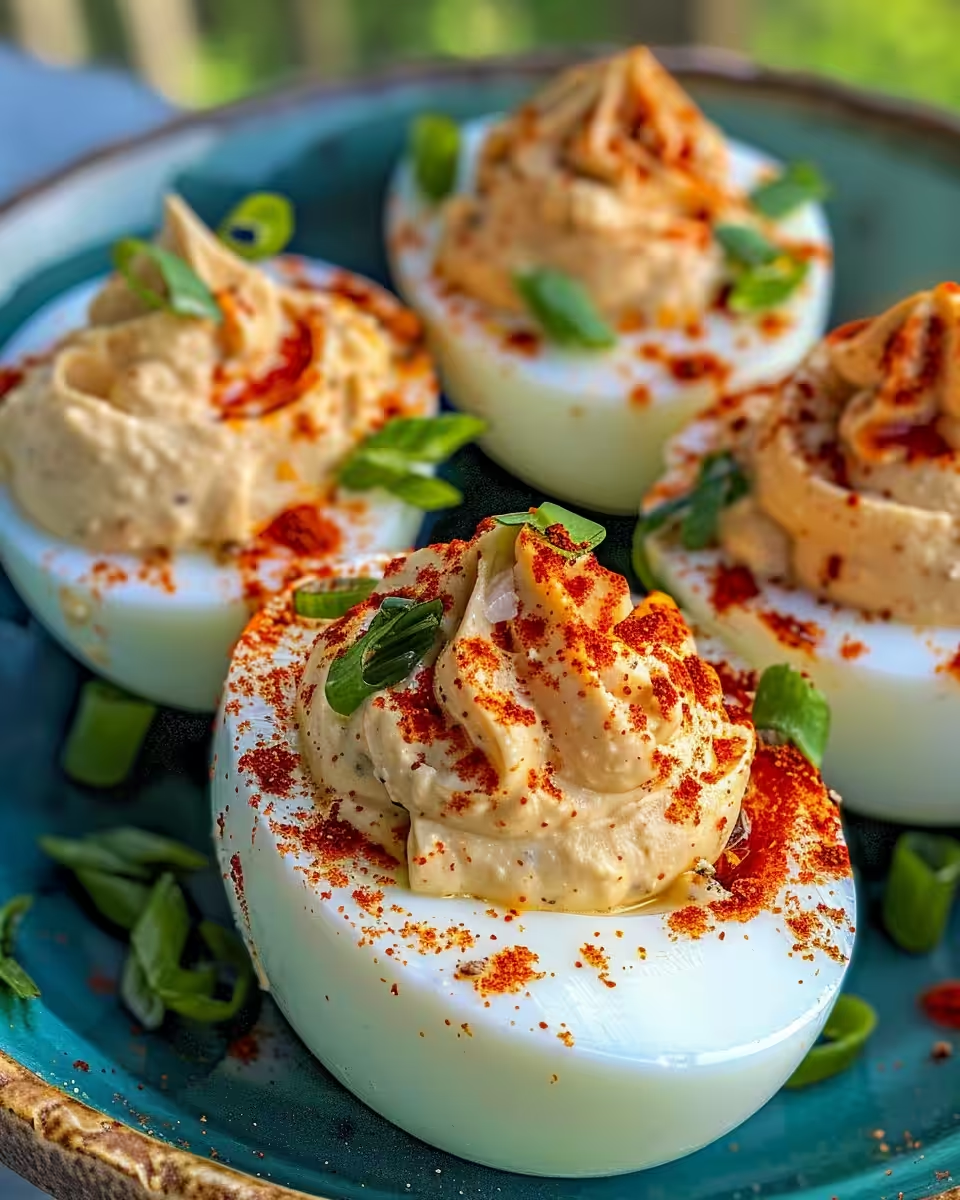
First bite hits you with creamy, spicy yum that wakes up your tongue just right. The mayo and chili sauce mix smooth but pack a punch, no joke.
The egg whites are tender but firm and hold the filling good without flopping over. It’s like a perfect little package of flavor just waiting.
The crispy onions on top add a crunch contrast that’s kinda addicting—the best surprise texture.
And smoked paprika? It’s a whisper on the taste buds, smoky and cozy kinda like a campfire in bite-size form.
Smart Storage That Actually Works
- Keep deviled eggs in a sealed container in the fridge for up to 3 days. They’ll stay tasty and firm.
- Try storing in a single layer to avoid toppings getting smooshed or ruined.
- If you made the filling ahead, keep it separate and fill eggs just before serving. This keeps whites from getting soggy.
- For travel or picnics, use an egg carrier or an airtight container lined with paper towels to absorb moisture and keep them fresh.
Common Questions and Real Answers
- Can I use brown eggs? Yep, brown or white, eggs work the same in pressure cooking.
- Is it okay to adjust spice level? Totally, add more Thai chili sauce if you like it hot, or less if you’re mild.
- What if eggs crack during cooking? That happens sometimes, but if you keep them in a single layer and use gentle pressure, it’s rare.
- Can I substitute mayo for yogurt or sour cream? You sure can, just watch for extra moisture so the filling is not too runny.
- How do I know when pressure is built? Your cooker will beep or the valve will start to jiggle, that’s how you feel pressure build!
- Do I have to peel eggs right away? You can peel later but peeling right after ice bath makes it easiest and fastest for you.
Make sure to also check out our Zesty Avocado Egg Salad Recipe and Creamy Steak Pasta – Ready in 30 Minutes for more delicious dishes that use pressure cooking to make your meals fast and flavorful.
Spicy Deviled Eggs in Your Pressure Cooker
Equipment
- 1 Saucepan with lid
- 1 Mixing bowl
- 1 Slotted spoon
- 1 Fork (or food processor for smoother filling)
- 1 Piping bag or small spoon
Ingredients
Main ingredients
- 7 large eggs gotta have enough for a snack or a light meal
- ⅓ cup mayonnaise or avocado mayo creamy base that makes the yolks dreamy
- 1 tablespoon Thai chili garlic sauce gives you that spicy kick, adjust to taste
- Crispy fried onions for topping, adds crunch and flavor
- Smoked paprika optional for garnish, just a sprinkle
Instructions
Instructions
- Place 7 eggs in your pot. Make sure they’re in a single layer, you don’t want any cracking.
- Cover the eggs with about an inch of water. That’s your broth depth humming to cook them just right.
- Put the lid on, check the sealing ring to make sure it’s snug, and bring to pressure on high.
- Once the pressure build happens, set your timer for 5 minutes. This is where tender eggs start becoming your best friends.
- Let the pressure release naturally after cooking for about 10 minutes. It helps eggs finish gently and makes peeling a breeze.
- Transfer eggs to an ice bath for at least 5 minutes. That cold shock stops them cooking and makes the peel come right off.
- Peel, slice in half lengthwise, then scoop out yolks. Mix yolks with mayo and Thai chili garlic sauce until smooth. Spoon or pipe back in whites, then top with fried onions and smoked paprika if you want.