You catch the smell through the steam vent and suddenly you are starving. The kitchen fills with the scent of smoky bacon mingling with a little heat and tang you can't quite place yet. You glance over at your pressure cooker, knowing that those spicy deviled eggs are just about ready to come out.
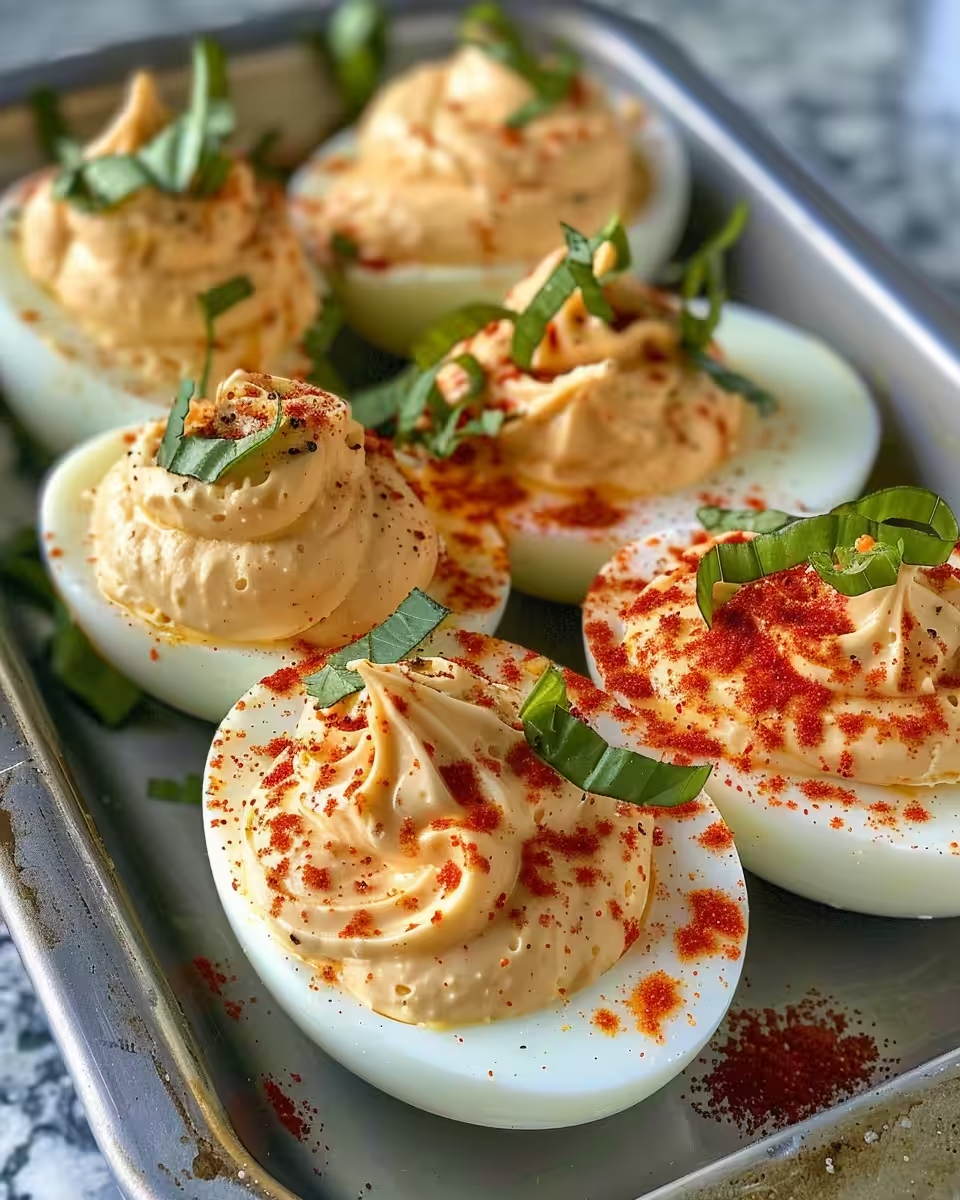
These deviled eggs are not your grandma's boring snack. The yolks are whipped creamy with mayo, a punch of sriracha, and a touch of mustard that ties it all together. Then, you top 'em with crispy bacon crumbles that add this great crunch and smoky flavor you don't wanna miss.
Once the eggs get that quick release done, you notice they've got a perfect tender pull and the yolk filling is velvety smooth. You're already picturing the first bite, that little heat blast, the creamy richness, and the satisfying bacon crunch. It’s the kinda snack you want at every party and snack time.
Why Your Cooker Beats Every Other Pot
- Fast pressure build means your deviled eggs cook quickly and evenly every time.
- Sealing ring keeps all that steam locked in so the eggs come out perfectly cooked.
- The float valve tells you when it’s reached pressure so you don’t have to guess.
- Using quick release helps keep the eggs tender without overcooking.
- The sealed environment locks in flavors and moisture better than boiling on the stove.
Your Simple Ingredient Checklist
- 6 large eggs - hard-boiled and peeled (pressure cooker makes these super simple)
- 3 tablespoons mayonnaise - plus more if you like it creamier
- 1 teaspoon yellow mustard to add a little tang
- 1 to 2 teaspoons Sriracha - more if you want it spicy!
- ⅛ teaspoon paprika for subtle smoky depth
- Salt and pepper, to taste - start light with about ¼ teaspoon each
- A splash of white vinegar - this is optional but adds zest and helps balance flavors
- 4 slices bacon, cooked and crumbled - uncured and nitrate-free if you can (skip or swap for vegetarian)
- Fresh chives to garnish - optional but they brighten it up nice
- Extra Sriracha for drizzling on top at the end
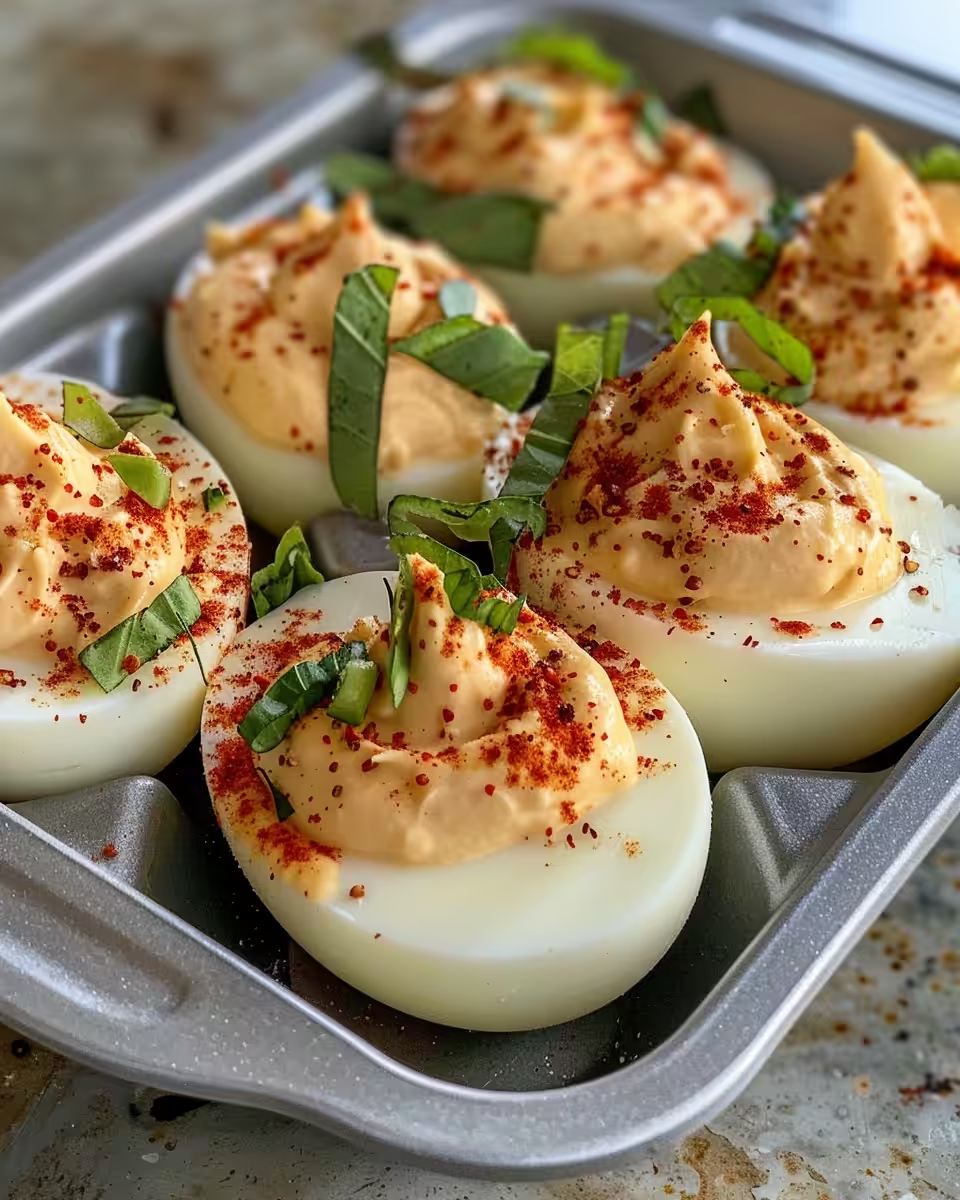
Walking Through Every Single Move
First, cut your hard-boiled eggs in half lengthwise. Gently pop out the yolks and put them in a mixing bowl.
Next, add the mayo, mustard, Sriracha, paprika, salt, and pepper to the yolks. Mash it up with a fork until it’s smooth and creamy.
If you’re feeling adventurous, toss in a splash of vinegar and mix that in too. It gives it a nice little tang pop.
Spoon or pipe the yolk mixture back into the egg whites. Don’t be shy with the filling — you want every bite to be packed.
Sprinkle those crispy bacon bits over the top. The crunch with the creamy filling is just unbeatable.
Drizzle a little extra Sriracha on top if you want to turn up the heat a notch.
For a fresh finish, sprinkle on some chopped chives. They add color and a mild onion flavor.
Finally, plate them up and head for your first taste — you’ve earned it!
Valve Hacks You Need to Know
- If you’re in a rush, use the quick release as soon as the timer beeps to keep eggs from cooking too much.
- Make sure your sealing ring is clean and seated properly or the cooker won’t hold pressure right.
- Watch for the float valve to pop up before starting your timer; it means pressure’s locked in.
- When removing the lid, tilt it away from you to avoid steam burns.
- If yolks seem dry, add a little more mayo or a splash of water to the mixture for smoothness.
That First Bite Moment
You finally take that first bite and instantly notice the creamy, spicy filling melting on your tongue. The sriracha hits just right, giving a little cheeky burn that wakes up your taste buds.
Then the crunch of the bacon bursts through like a little surprise, adding this smoky saltiness that pairs perfectly with the mellow egg. It’s like the perfect happy dance happening in your mouth.
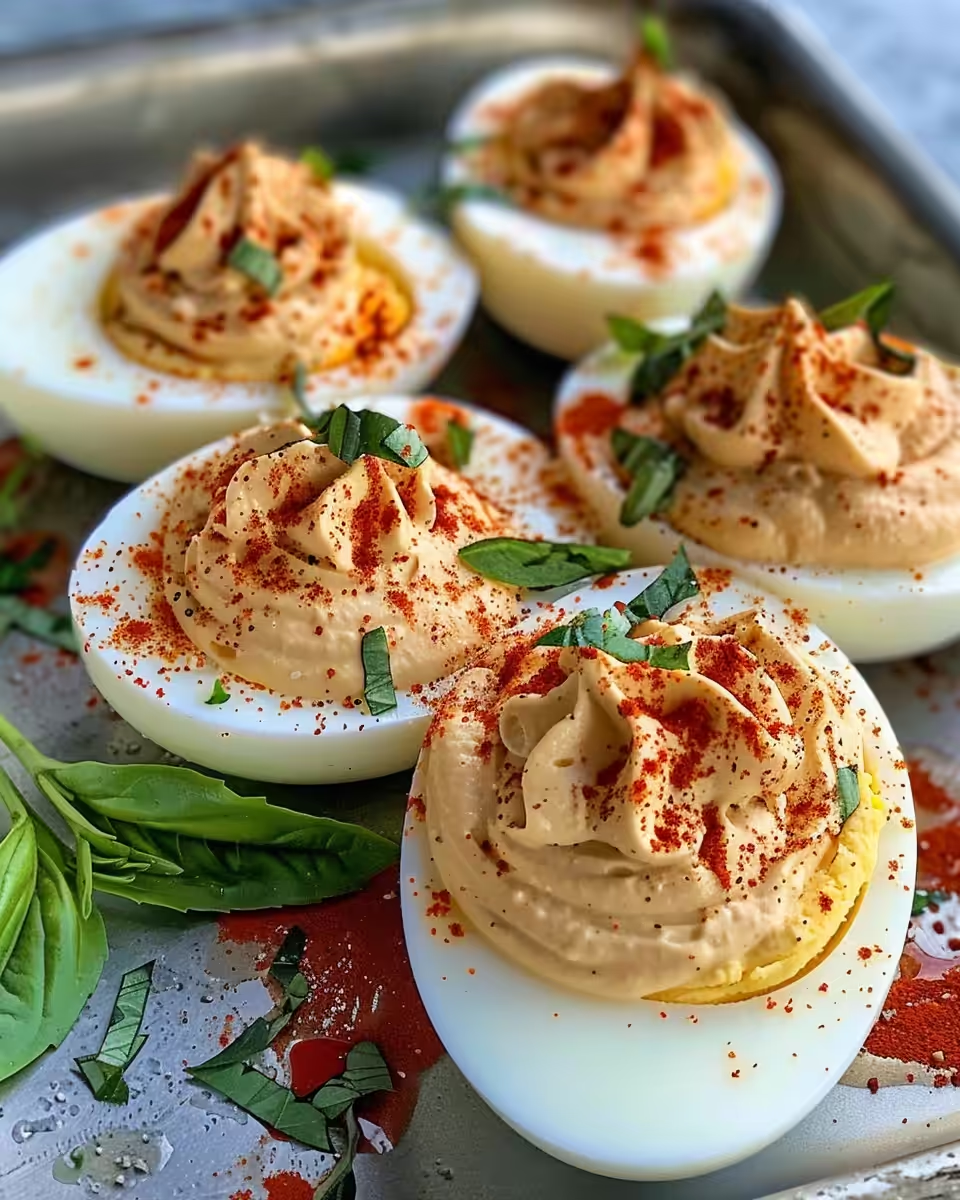
Each bite mixes all those flavors together with the smooth egg white as a cool base. You find yourself sneaking back for more before you know it.
Your Leftover Strategy Guide
If you got leftovers, store them in an airtight container in the fridge. They'll keep good for 2 to 3 days tops before you want to eat 'em or toss 'em.
To keep those deviled eggs tasting fresh, cover them tightly with plastic wrap over the filling to prevent drying out. You can also place parchment paper between layers if stacking.
If you wanna prep ahead, you can keep the egg whites separate from the filling overnight and fill 'em right before munch time. It keeps everything nice and fresh.
Your Most Asked Questions Answered
- Can I make these deviled eggs vegetarian? Sure, just skip the bacon and garnish with more chives or a sprinkle of smoked paprika for that smoky vibe.
- How do I know when the eggs are done in the pressure cooker? Eggs usually need about 5 minutes at high pressure with a quick release for perfect yolks.
- What if I don’t have Sriracha? You can swap it with any hot sauce or even a dash of cayenne pepper for heat.
- Can I prepare these in advance? Yes, but it’s best to keep yolk filling separate from whites and mix or stuff right before serving.
- Why add vinegar? It’s optional but adds a little tang that balances creaminess and cuts through the richness.
- How to store leftovers? Airtight container in the fridge for 2-3 days, cover the filling to prevent drying out.