Steam curls up from the valve and your stomach starts talking back. It’s kinda like your pressure cooker is telling you dang right, it’s time for something good. You smell that hint of cocoa and vanilla messing with your daydreams — that’s what you remember, at least.
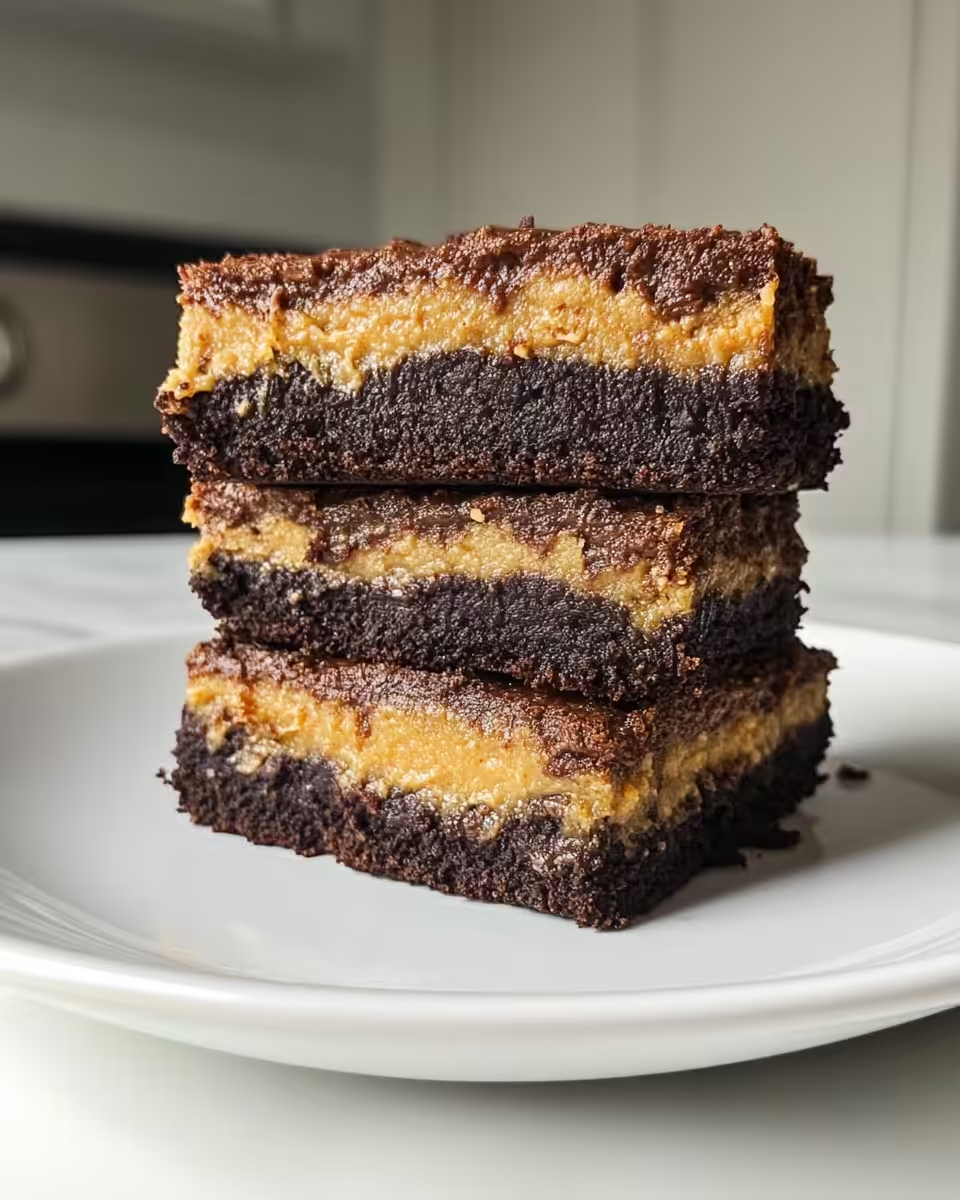
You recall reaching for that sealing ring, fitting it snug and tight, getting the cooker prepped for pressure build. The little hiss as the valve settles, it’s a promise right there. Each minute you wait brings you closer to that brookie bliss, kinda like waiting for a hug from your favorite blanket.
You feel the warmth in your kitchen even before you crack the lid. The slow release letting some steam out smells like patience and yum, combined. You almost can’t wait to quick release the rest and dive in.
Why Your Cooker Beats Every Other Pot
- Pressure cooks everything way faster so you’re not stuck waitin’ forever.
- It locks in moisture making the brookies fudgy and soft all the way through.
- Quick release gets you to the good part ASAP — no more standing around.
- That sealing ring keeps pressure tight so you get perfect bake-anywhere results.
- Steam builds inside perfectly, giving you that perfect crust without drying out.
- Easy clean-up – you only gotta wash one pot, no mess everywhere.
- It’s great for gluten-free cuz it evenly blends flavors and textures without overbaking.
Knowing the importance of your pressure cooker’s sealing ring is key. For additional tips and a detailed look at pressure cooker essentials, check out our deep dive into the Easy Thai Baked Chicken Meatballs and how natural release elevates your meals.
All the Pieces for This Meal
You gotta have the right things for these vegan brookies to come alive. First up, the brownie layer needs some good stuff like a can of black beans. Yep, black beans! They add moisture and protein without any fuss.
Then, you’ll want ¼ cup of cacao powder or plain unsweetened cocoa powder to get that rich chocolate vibe rolling. The flour is flexible — oat, nut, whatever gluten-free goodness you’ve got is cool.
Creamy almond or cashew butter gives it that buttery, smooth texture. You can swap it with tahini if you’re feelin’ adventurous. Sweeteners like coconut sugar or maple sugar dial in the sweetness, along with a little pure maple syrup.
Vanilla extract makes everything cozy. Then just a pinch of baking powder and soda, plus sea salt, and if you want, some chopped walnuts or pecans for crunch.
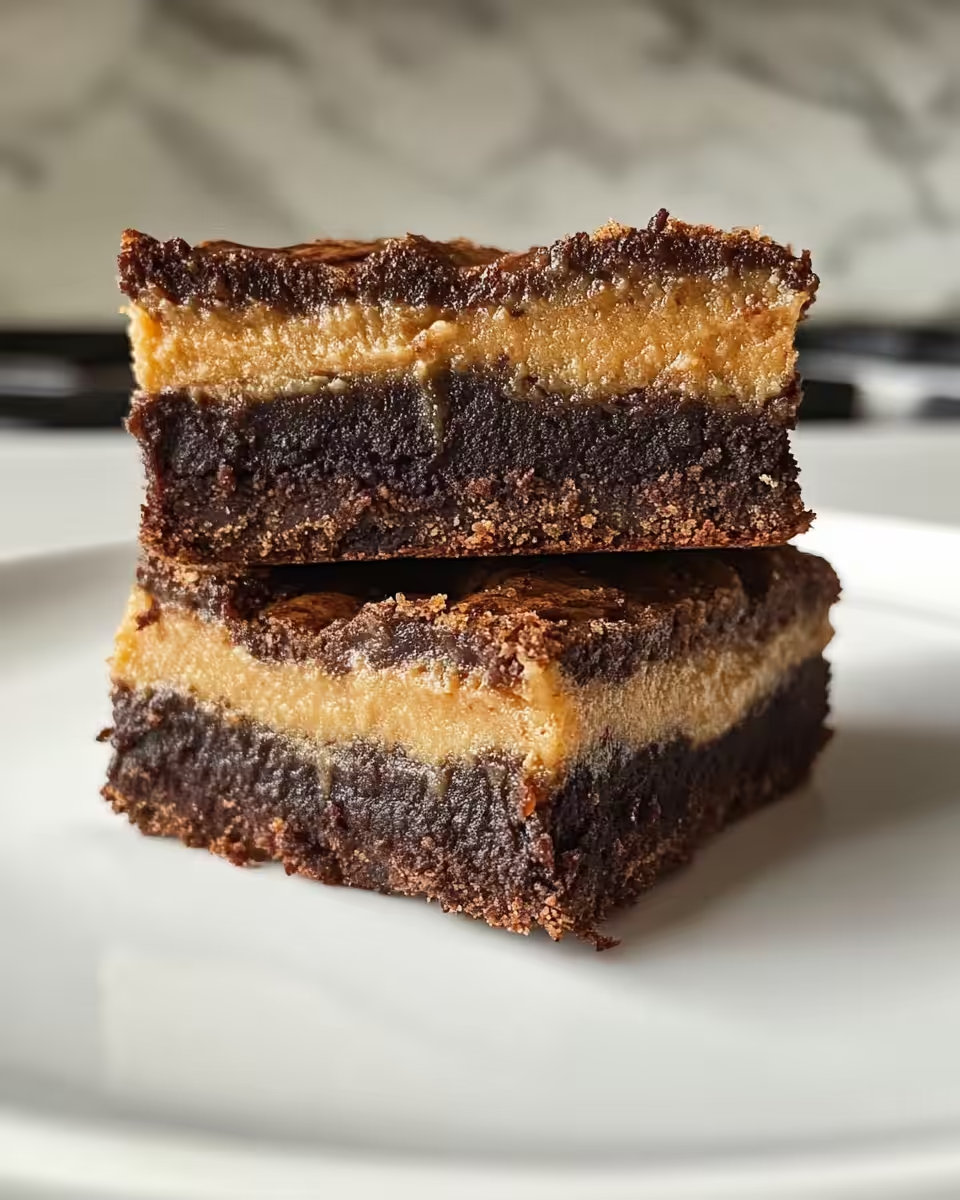
For the cookie layer, grab oat flour, more baking powder and soda, sea salt again, creamy nut butter or tahini, maple syrup, a little coconut or brown sugar, melted coconut or olive oil, vanilla, and don't forget those chocolate chips!
The Full Pressure Cooker Journey
Alright, let’s get you through this step by step. Preheat your oven to 350°F and line an 8x8 baking dish with parchment paper so nothing sticks later.
Get your food processor out. Dump in the black beans, cacao powder, flour, nut butter, sugars, maple syrup, vanilla, baking powder, and baking soda. Blitz it all up until it’s nice and smooth.
Pour that chocolatey batter into your lined dish and spread it out evenly. This is your brownie base, laying down that fudgy foundation.
Next up is your cookie layer. In a bowl, mix your oat flour, baking powder, baking soda, salt, nut butter, maple syrup, sugars, melted oil, vanilla, and chocolate chips until you get a dough that’s sticky but workable.
Spoon dollops of cookie dough right over the brownie batter. You can gently press or spread them a bit but don’t stress must cover every inch.
Slip that whole thing into the oven and bake for 25–30 minutes. You’re lookin’ for edges that brown nicely and a toothpick that comes out mostly clean.
Patience now! Once done, let the brookies cool completely in the pan. This makes them easier to cut squares without falling apart on you.
When you’re ready, slice it up, plate it, and get ready to taste the dang yum.
Easy Tweaks That Make Life Simple
- If you’re short on time, try quick release after 20 minutes of baking just to speed up cooling.
- Swap nut butter for peanut butter if that’s what you got — it works real good.
- Throw in a handful of vegan chocolate chips in the brownie batter for an extra chocolatey surprise.
- Use store-bought gluten-free oat flour to skip the grinding step.
That First Bite Moment
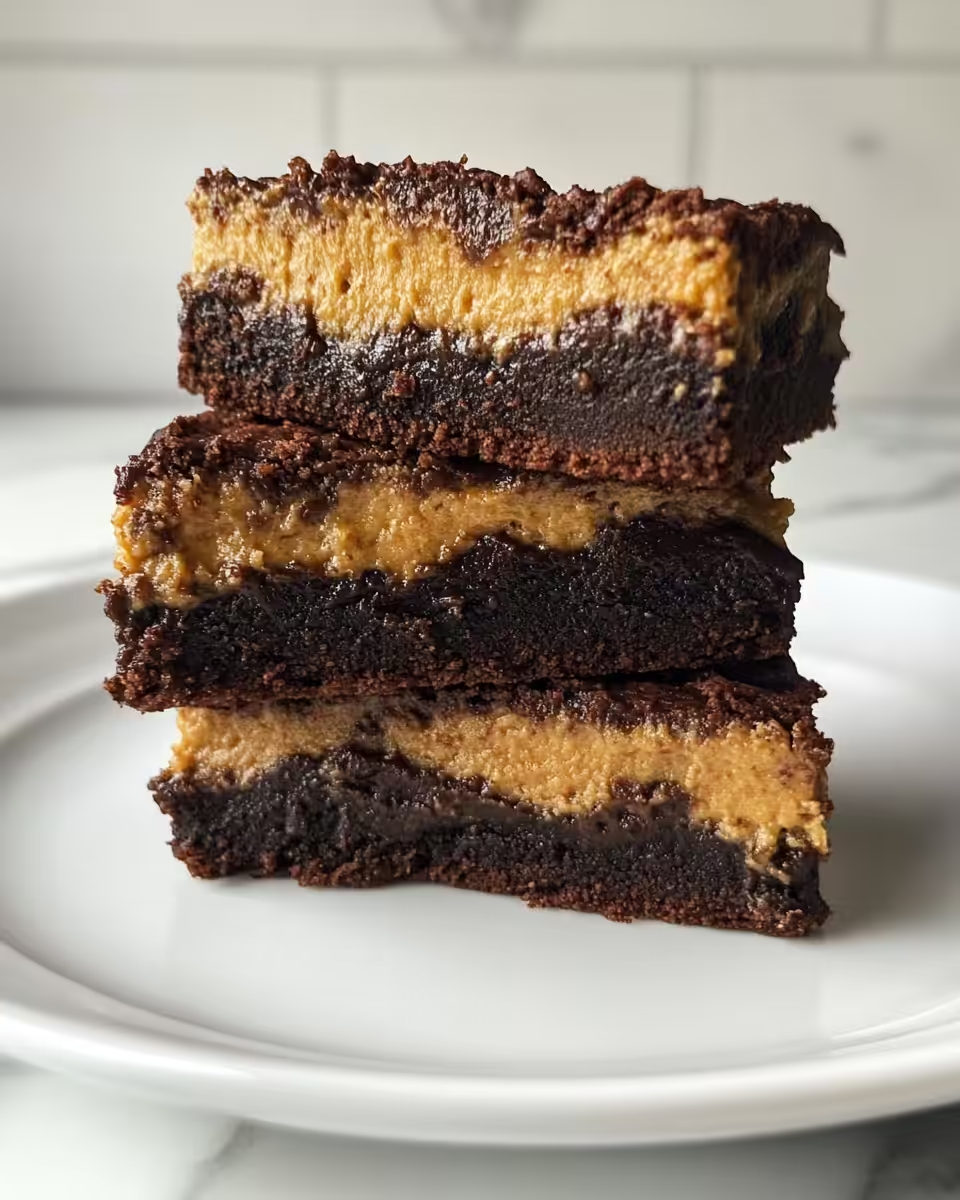
When you bite into the brookies, your senses kinda explode with the fudgy richness of the brownie layer. It’s dense but soft, like a chocolate cloud that just melts in your mouth.
The cookie layer sits on top with a gentle crunch and bursts of those melty chocolate chips that play with your taste buds. You feel that sweet and a little salty balance dance on your tongue.
All that gooey texture with the crunch of walnuts (if you added ‘em) makes it feel like you got a real celebration going on inside your mouth.
You might not wanna share cuz it’s dang dreamy but hey, that’s what guests are for, right?
Keeping Leftovers Fresh and Ready
If you got leftover brookies, no worries. You wanna keep them in an airtight container first so they don’t dry out.
Pop the container in the fridge and they’ll stay fresh for up to a week. When you wanna eat one later, just leave it out for a bit to take the chill off.
For longer storage, you can freeze cuts individually wrapped in parchment. Thaw at room temp or warm ‘em lightly for that fresh-baked feeling.
What People Always Ask Me
- Can I use canned beans without rinsing? You really should rinse and dry ‘em well to avoid any beany taste or excess moisture messing up the batter.
- What’s the best flour for the cookie layer? Oat flour is my fave for gluten-free, but nut flours work too if you wanna experiment.
- How do I know when the brookies are done? Check for browned edges and stick a toothpick in the center. If it comes out mostly clean, you’re good.
- Can I make this without a food processor? It’s tricky but you can mash the beans super well and mix carefully. Just expect some texture differences.
- Why slow release then quick release? Slow releasing first helps avoid sudden changes so your brookies don’t crack. Quick release finishes things fast and safely.
- Can I replace the coconut sugar with something else? Totally! Maple sugar, brown sugar, or even coconut sugar substitutes work fine.
Vegan Brookies Recipe Gluten-free - Pressure Cooker Style
Equipment
- 1 Food processor
Ingredients
Brownie Layer
- 15 oz Black beans drained, rinsed and patted dry
- ¼ cup Cacao powder or unsweetened cocoa powder
- ¼ cup Flour nut or oat flour
- ⅓ cup Creamy almond or cashew butter or tahini
- ½ cup Coconut sugar or maple sugar or brown sugar
- ¼ cup Pure maple syrup or date syrup
- 1 teaspoon Vanilla extract
- ¼ teaspoon Baking powder aluminum-free
- ¼ teaspoon Baking soda
- ¼ teaspoon Sea salt
- ½ cup Chopped walnuts or pecans optional
Cookie Layer
- 1 ¼ cups Oat flour gluten-free if needed
- ½ teaspoon Baking powder aluminum-free
- ½ teaspoon Baking soda
- ½ teaspoon Sea salt
- ¼ cup Creamy almond or cashew butter or tahini
- ⅓ cup Maple syrup pure
- 2 tablespoon Coconut sugar maple sugar or brown sugar
- ¼ cup Coconut oil melted, or olive oil
- 1 teaspoon Vanilla extract
- ½ cup Semi-sweet chocolate chips or more to taste
Instructions
Instructions
- Preheat oven to 350°F and prepare an 8x8 baking dish with parchment paper.
- In a food processor, blend all brownie ingredients except nuts until smooth. Stir in nuts and spread into pan.
- In a separate bowl, mix cookie layer dry ingredients. In another bowl, whisk wet ingredients together then combine with dry mix.
- Stir in the chocolate chips until evenly distributed.
- Dollop cookie dough over brownie layer and lightly press down.
- Bake for 30 minutes until edges are set and golden.
- Cool in pan for at least 1 hour before slicing into squares.