Steam curls up from the valve and your stomach starts talking back. It’s one of those smells that reaches deep and makes you think about warm mornings and cozy kitchens. You spot the steam rising as the pressure cooker does its thing, and your mouth waters a little because you know something good is coming.
Inside the cooker, the broth depth and pressure build all work together to create the perfect environment for your bread. The sealing ring hums its important role, keeping everything tight and ready for a flawless rise. You catch the subtle steam cues and know it’s almost time.
It’s kinda funny how condensed milk, simple as it is, can change bread into something so soft, sweet, and irresistible. You recall that first time trying it fresh outta the cooker, all fluffy and golden brown. This recipe’s gonna win you over real good.
What Makes Pressure Cooking Win Every Round
- It speeds up bread baking compared to traditional oven methods, saving your time.
- The sealed pressure environment traps moisture, giving your bread a soft and tender crumb.
- You get consistent baking thanks to steady pressure build and temperature control.
- Less mess and fewer dishes since you’re using one pot for proofing and baking.
- Steam cues from the valve give you clear signals when things are cooking right.
- The natural release lets the bread finish gently so it doesn’t collapse or dry out.
The Complete Shopping Rundown
- 1 cup whole milk, slightly warm (80 to 90 degrees Fahrenheit). This helps wake up your yeast just right.
- 1 tablespoon instant yeast to get that dough rising nice and fluffy.
- Half a cup of sweetened condensed milk. This is the secret sweetener for soft bread texture.
- 1 large egg, lightly beaten, for richness and structure.
- 3 and 1 quarter cups bread flour, sifted or whisked to aerate. Flour type is important for the right chew.
- Half a teaspoon fine sea salt to bring out all the flavors.
- Quarter cup unsalted butter, cubed and at room temp. Adds that tender crumb and buttery flavor.
- Another large egg and 1 tablespoon whole milk for the egg wash to get that golden shiny top.
- Vegetable oil to grease bowls and pans so dough don’t stick.
Walking Through Every Single Move
- First, get your stand mixer bowl ready. Pour in the warm milk, sprinkle yeast on top, and gently stir so the yeast starts working.
- Next, add the condensed milk and lightly beaten egg. Then toss in your sifted flour and sea salt.
- Mix all this on low speed until the dough just starts coming together. Then crank up to medium-low and add your butter chunks one at a time. Keep kneading till butter’s all blended.
- Keep an eye for the dough sticking to the sides. It’s gotta be sticky but not clingy. If it sticks, knead a bit more and only add flour sparingly if needed.
- When your dough’s nice and smooth, do the windowpane test. Pinch a piece and stretch it gently. If it breaks, knead more, if it stays intact and turns see-through, you’re good.
- Shape the dough ball with oiled hands. Place it in a greased bowl seam side down, cover with plastic wrap and find a warm spot for proofing. Wait till it doubles up in size, usually 1 and half to 2 hours.
- Once risen, gently punch the dough down and turn out to a floured surface. Shape it as a loaf or split into rolls. Place in your greased pan lined with parchment paper.
- Cover and let rise again till dough nearly touches pan edges, 30 to 40 mins. Brush with egg wash and bake at 350 degrees Fahrenheit for about 22 to 25 mins till golden. Let cool before slicing and enjoy!
Easy Tweaks That Make Life Simple
- If you’re short on time, proof the dough in your pressure cooker on low heat with the sealing ring in place. It’s warm and cozy for dough, speeding up rising.
- Use your stand mixer dough hook to knead instead of hand kneading if you want to skip the arm workout but keep that good gluten development.
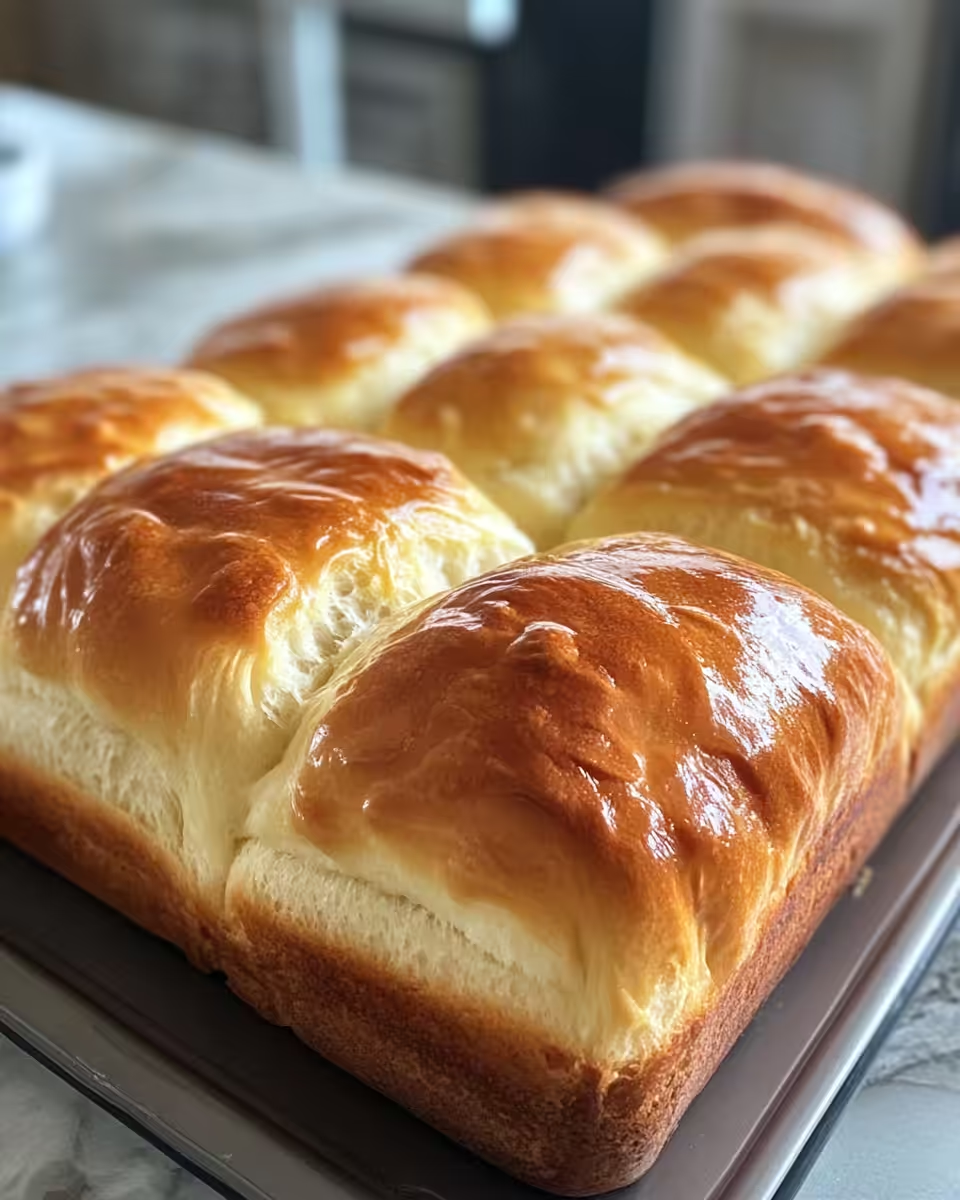
- Sometimes you gotta go rolls instead of loaf for quicker cook and snack-ready bread perfect for dipping or sandwiches.
That First Bite Moment
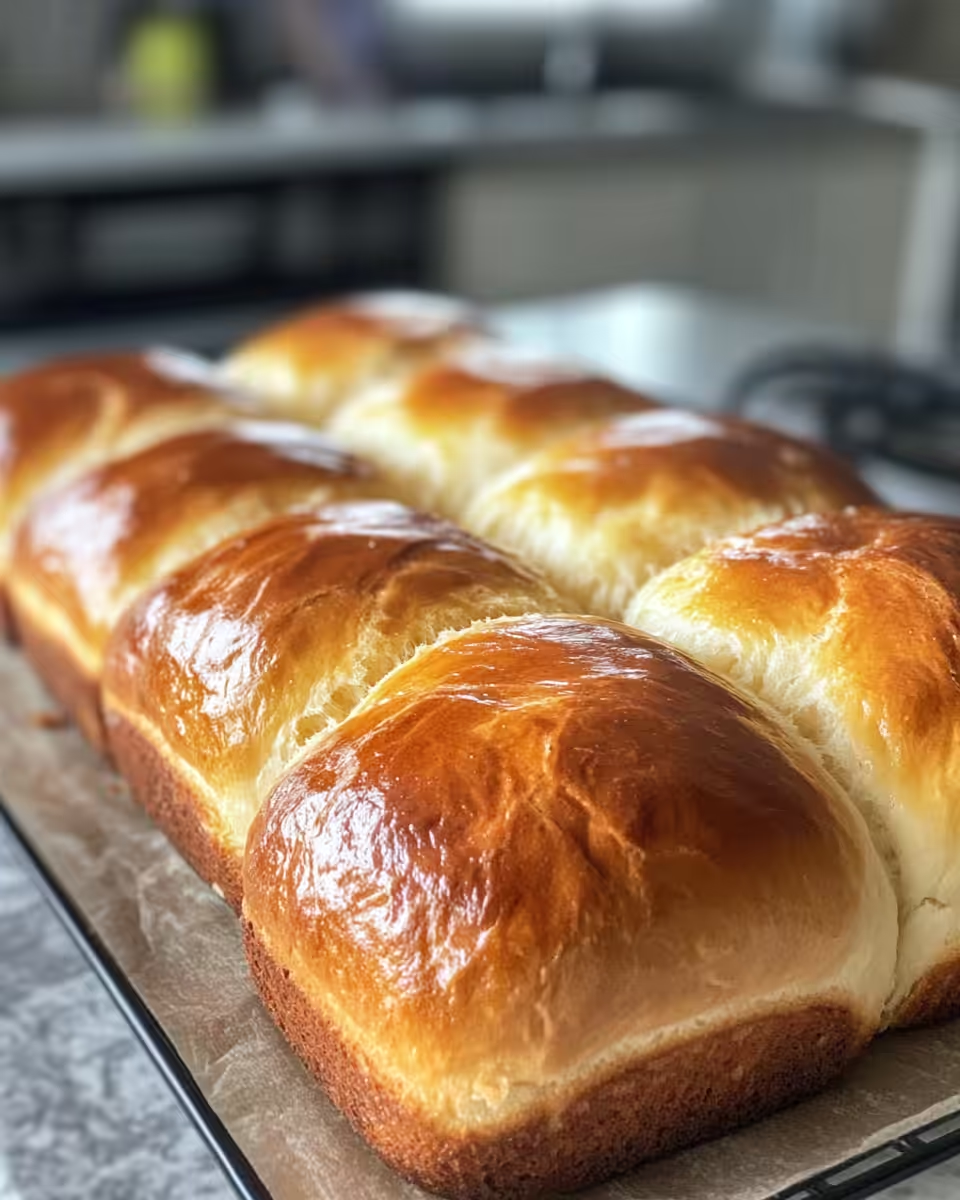
Take that first piece and feel how soft it is, almost like biting through a cloud. The condensed milk gives it this lovely sweetness that ain’t over the top but just right.
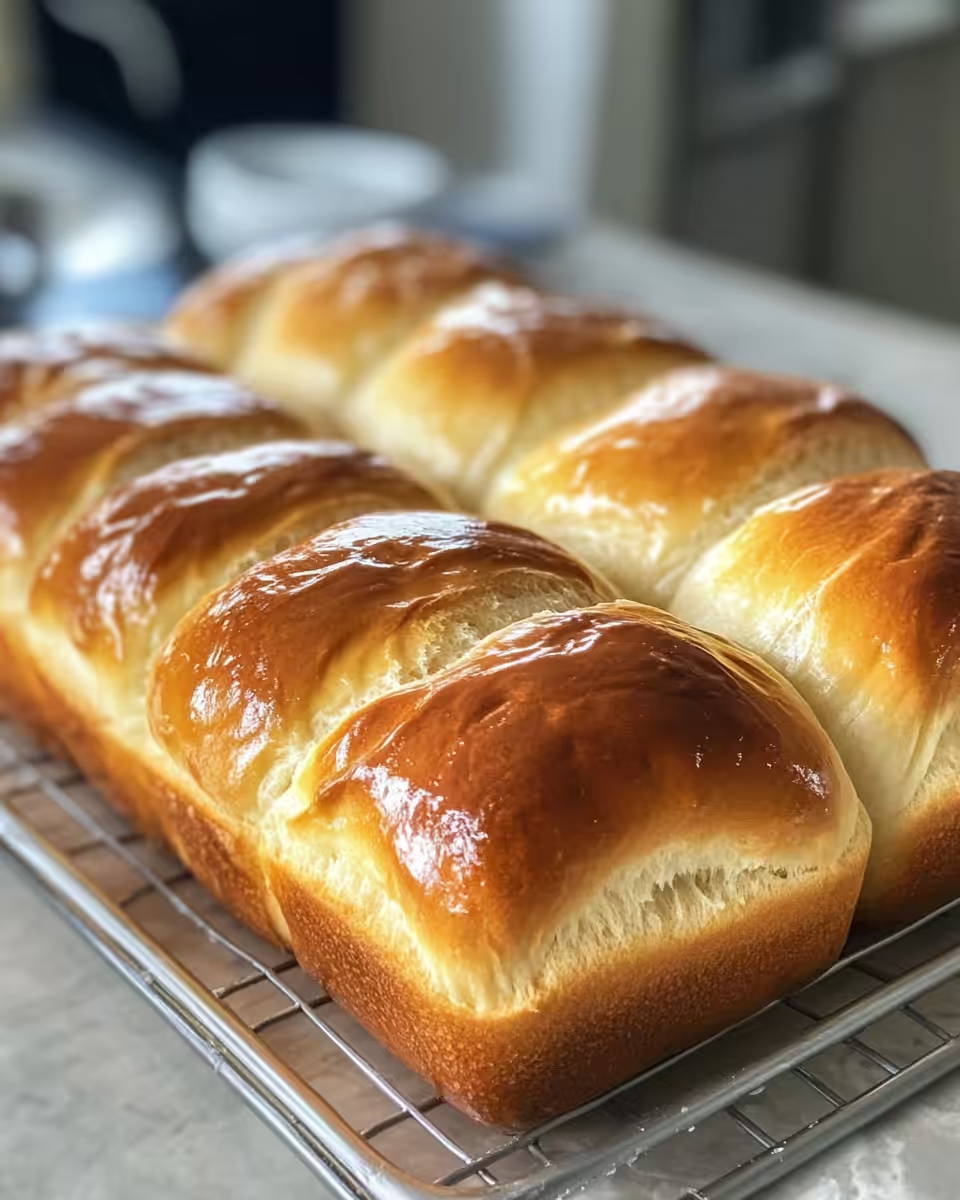
The crust, a deep golden brown thanks to that egg wash, has a delicate crunch that melts fast in your mouth. It’s a dang good contrast to the pillowy inside.
As you chew, little bursts of buttery richness come through, making you wanna tear off another slice real quick. It holds up great for sandwiches or just warm butter slathered on top.
You catch yourself smiling, realizing this bread kinda reminds you of weekend mornings at home. It’s simple but feels special every time.
How to Store This for Later
- Cool your bread completely before storing to keep moisture balance right and avoid sogginess.
- Wrap it up in plastic wrap or a good bread bag at room temperature. It’ll last about 5 days this way and stay soft and yummy.
- For longer storage, toss it in the fridge wrapped tightly. It can keep fresh up to a week but may dry slightly, just toast before eating.
- Freeze it if you wanna stock up. Slice first and wrap each stack in plastic wrap, then foil. Thaw at room temp or toast straight from frozen.
Everything Else You Wondered About
- Can I skip the condensed milk? You could but it’s what makes this bread sweet and tender. Without it, expect a more basic loaf. See our bread baking tips for alternate sweeteners and techniques.
- What’s the best way to check proofing? Use a glass bowl and mark the start level to watch doubling, or poke gently with a floured finger. It should rebound slowly. Also helpful: how to proof dough correctly.
- My dough stuck to the bowl sides, what now? Keep kneading longer. If it still sticks, add flour a tablespoon at a time but don’t overdo it or bread gets tough. Read more in fixing sticky dough.
- Why use an egg wash? It gives the bread that beautiful shiny and golden crust. You can skip but it won’t look as nice. Check egg wash benefits.
- How long to bake in a pressure cooker? This bread isn’t baked inside the pressure cooker, you use it for proofing and the steam environment before transferring to the oven.
- What’s with the sealing ring and steam cues? The sealing ring keeps pressure steady without leaks and the steam cues from the valve let you know when the cooker has hit perfect pressure for proofing warmth.
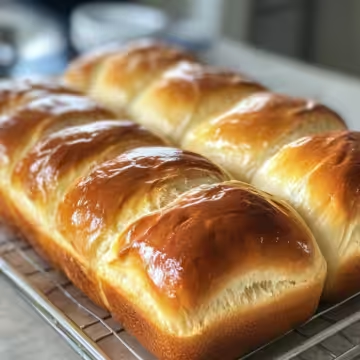
Condensed Milk Bread in Your Pressure Cooker: A Cozy Homemade Treat
Equipment
- 1 Mixing bowl Large
- 1 Stand mixer with dough hook
- 1 Loaf pan or baking pan for rolls
- 1 Parchment paper
Ingredients
Main ingredients
- 1 cup Whole milk slightly warm (80º - 90ºF)
- 1 tablespoon Instant yeast
- 0.5 cup Sweetened condensed milk
- 1 Large egg lightly beaten
- 3 ¼ cups Bread flour sifted or whisked
- 0.5 teaspoon Fine sea salt
- 0.25 cup Unsalted butter room temperature, cubed
- 1 Large egg room temperature, for egg wash
- 1 tablespoon Whole milk for egg wash
- Vegetable oil to grease bowls and pans
Instructions
Instructions
- To the bowl of a stand mixer, add the warm milk. Sprinkle the yeast on top and stir to combine.
- Add condensed milk and beaten egg, then flour and salt.
- Using the dough hook, mix on low speed until ingredients come together. Increase to medium-low, adding butter a little at a time and kneading until fully incorporated.
- If dough sticks to bowl sides, knead more. Add flour only if necessary and sparingly.
- Perform windowpane test to check gluten development.
- Shape dough into a ball with oiled hands, place seam-side down in a greased bowl, cover, and let rise in warm spot for 90 to 120 minutes until doubled in size.
- Line loaf or baking pan with parchment paper.
- Punch down risen dough and place on floured surface. Divide and shape as loaf or rolls as desired.
- Place shaped dough in prepared pan seam-side down, cover and let rise another 30 to 40 minutes or until it reaches pan rim.
- Preheat oven to 350ºF. Mix egg and milk for egg wash, and brush over top of dough.
- Bake 22–25 minutes (or 18–20 minutes for rolls) until golden brown.
- Cool in pan 5 minutes, then remove and cool completely on wire rack before serving.